![[December 2025] NVIDIA Isaac Sim Environment Setup Record (Isaac Sim 5.1.0 + ROS2 with Windows 11 Pro)](/_next/image?url=%2Fimg%2Fblog%2F5OPgIg1D_h0-devdesk.jpg&w=3840&q=75)
1. Introduction
This article is a personal work record of setting up NVIDIA's robotics simulation platform "Isaac Sim" development environment on Windows 11 Pro in December 2025.
Isaac Sim is extremely versatile, capable of everything from robot arm control to AI training, but setting up the environment required many steps. I've documented this procedure as a record for my future reference and hopefully as a resource for others who may be setting up similar environments.
2. My Build Environment
The specifications of the PC I used to build this simulation environment are as follows:
- OS: Windows 11 Pro
- GPU: NVIDIA RTX 5090 32GB GDDR7
- CPU: AMD Ryzen 9 9950X3D 4.3 5.7GHz
- Memory: 64GB DDR5 6000
- Primary Software: NVIDIA Isaac Sim
3. Environment Setup Procedure
Step 1: Initial OS and WSL Setup
First, I prepared the OS environment that forms the foundation for running Isaac Sim as follows.
1. NVIDIA App Installation and Driver Update
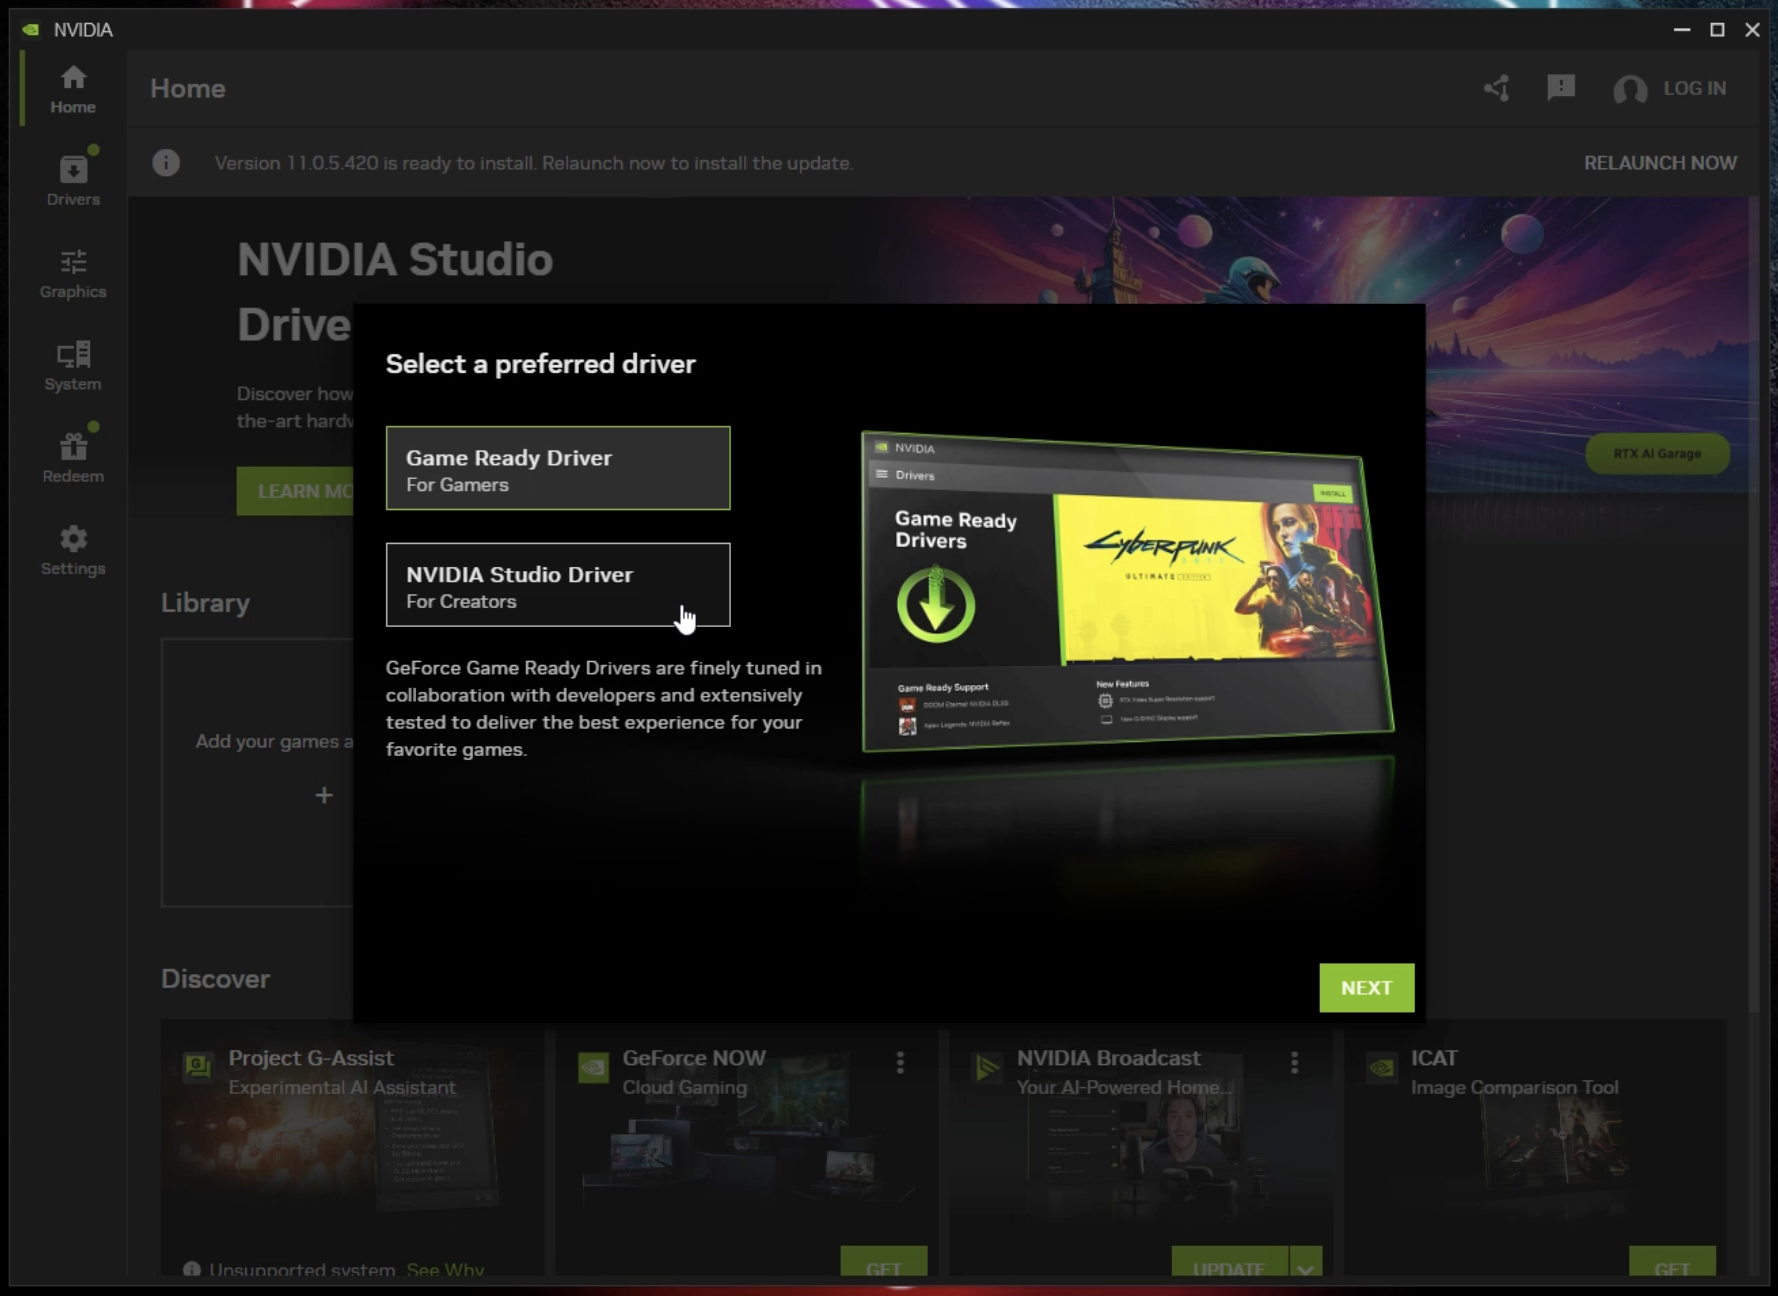
I downloaded and installed "NVIDIA App" from NVIDIA's official website (version 11.0.2.337 as of December 2025). This allows me to easily keep GPU drivers up to date.

During installation, I was asked to choose the driver type (Game Ready Driver or NVIDIA Studio Driver). Since I'm not gaming, I selected NVIDIA Studio Driver.
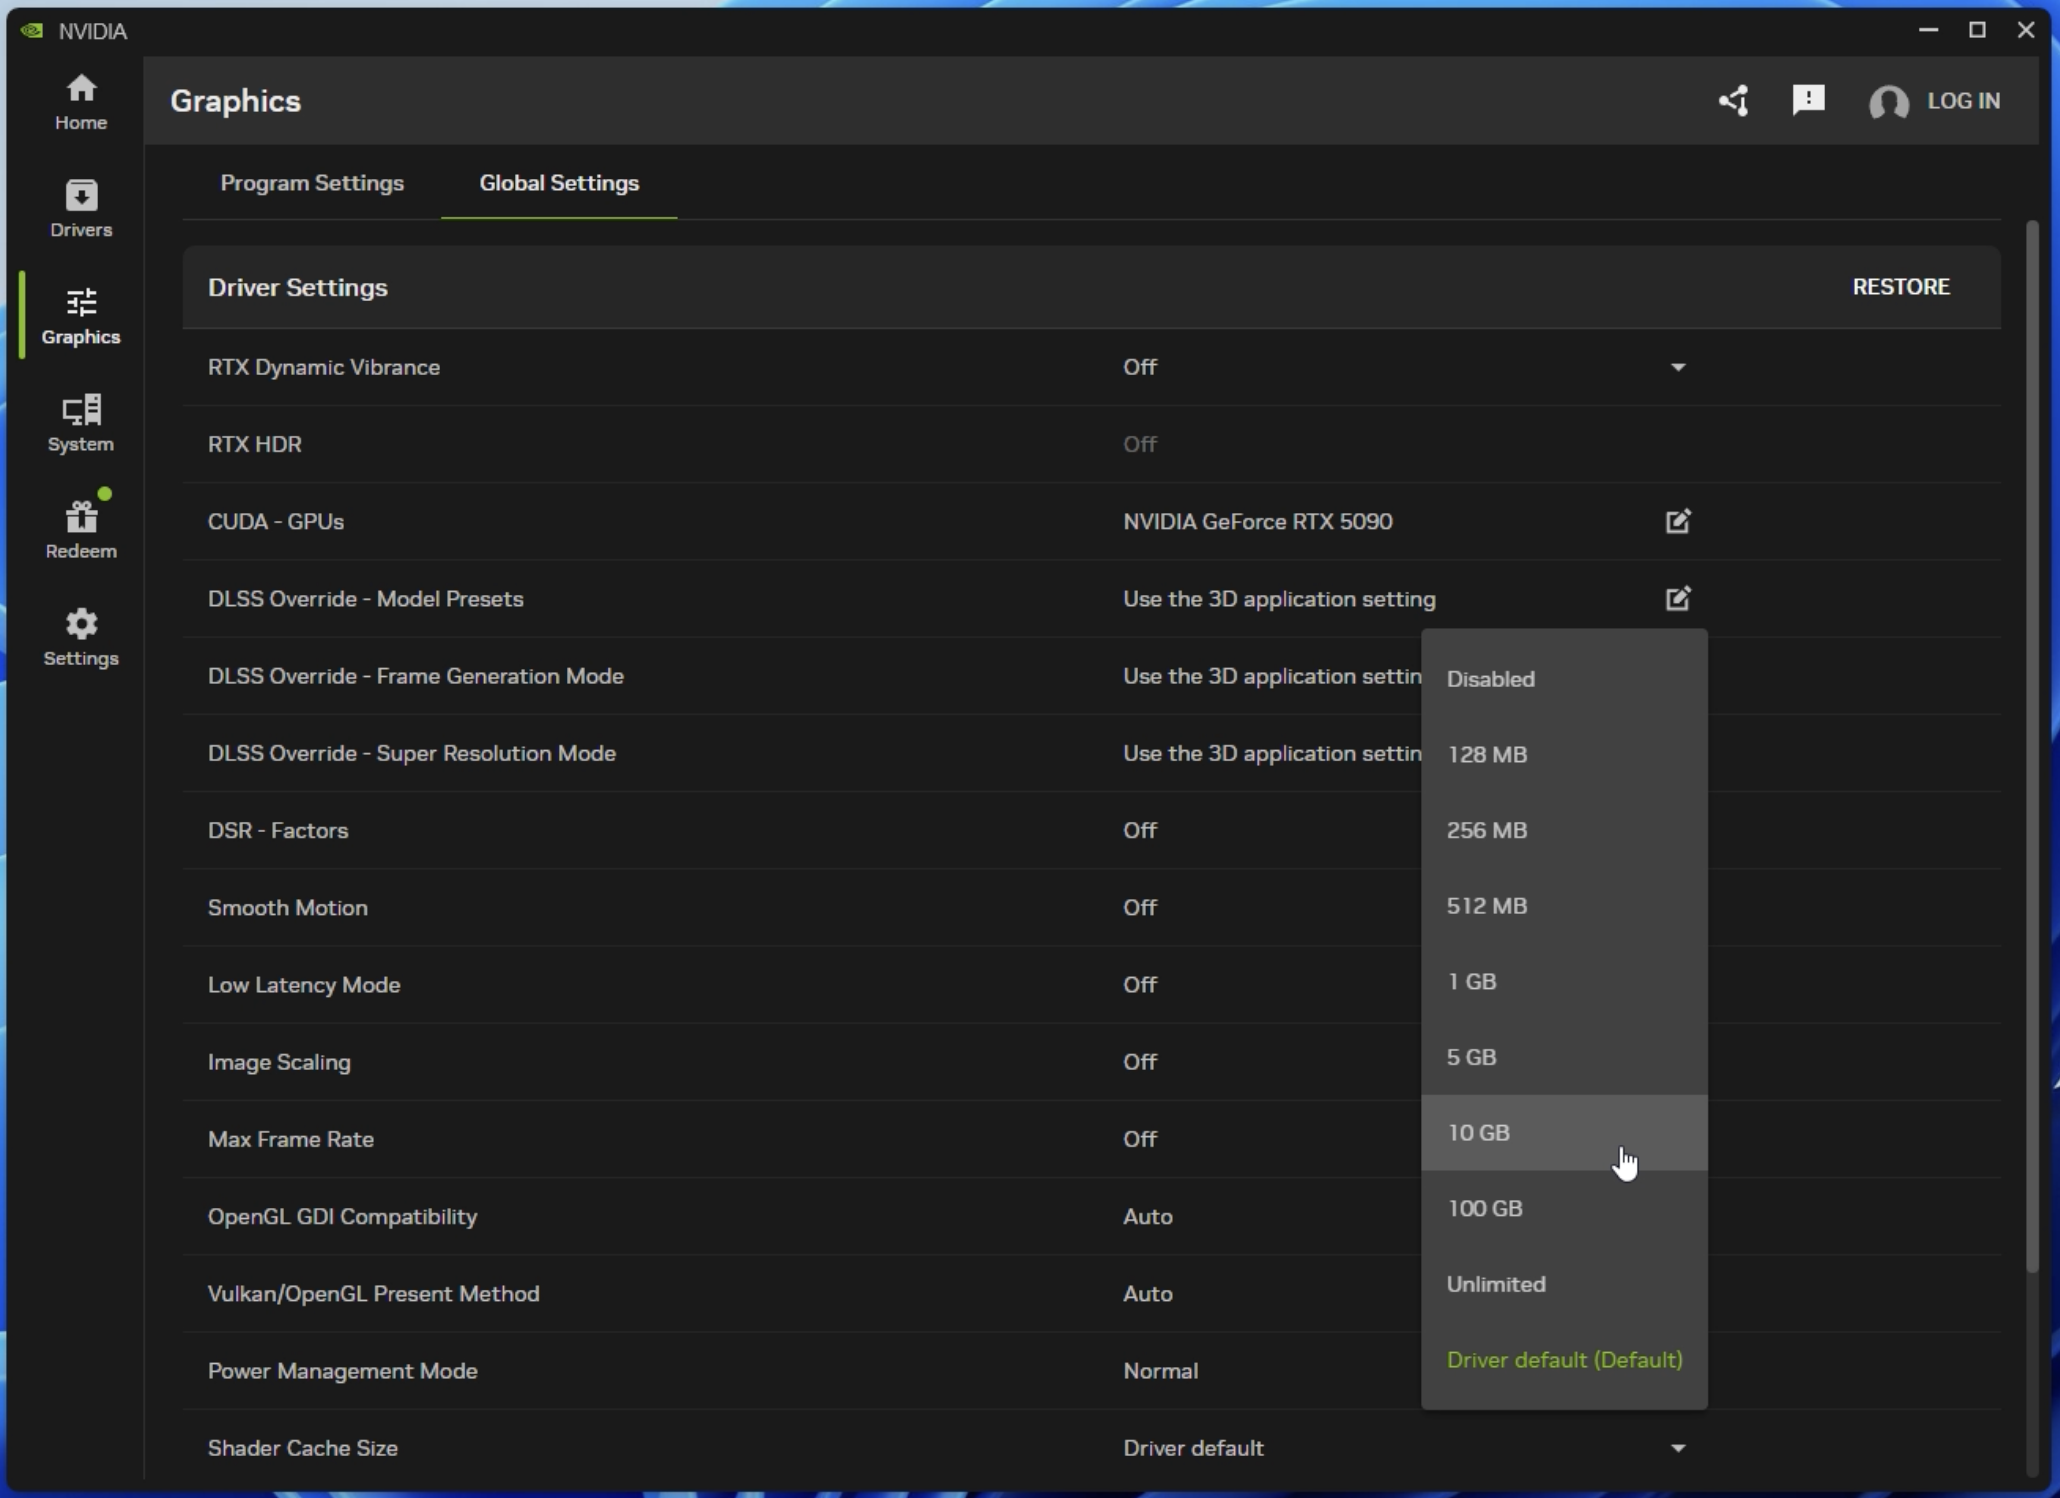
After installation, I launched NVIDIA App and installed the latest drivers. For performance improvement, I also set the shader cache size to "10GB" in the settings.
2. Running Windows Update
For system stability and security, I applied all available Windows Updates.
3. Installing WSL2 (Windows Subsystem for Linux 2)
To run the robot OS "ROS2" that will interface with Isaac Sim, I installed WSL2.
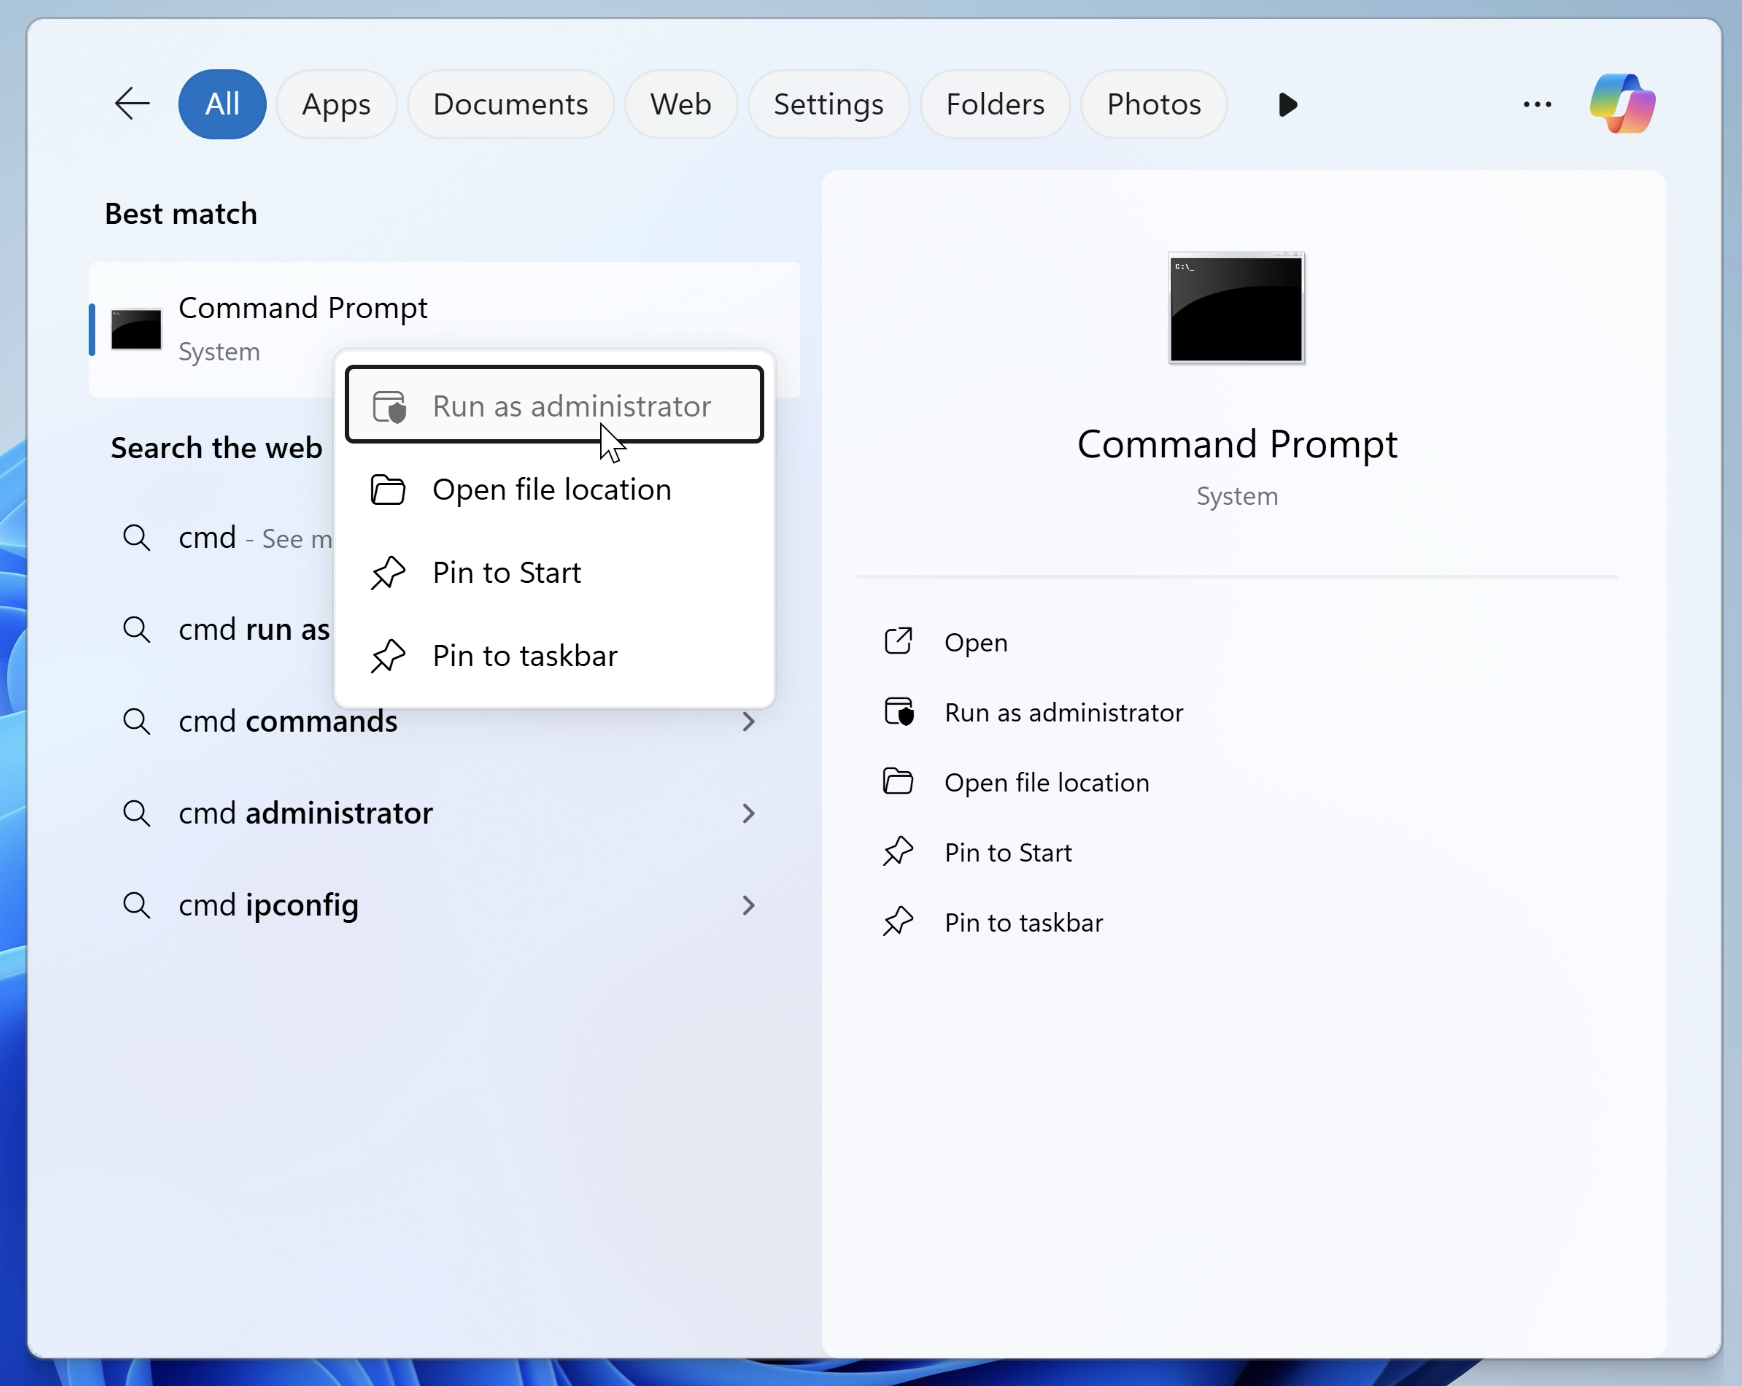
I opened Command Prompt and executed the following command:
> wsl --install
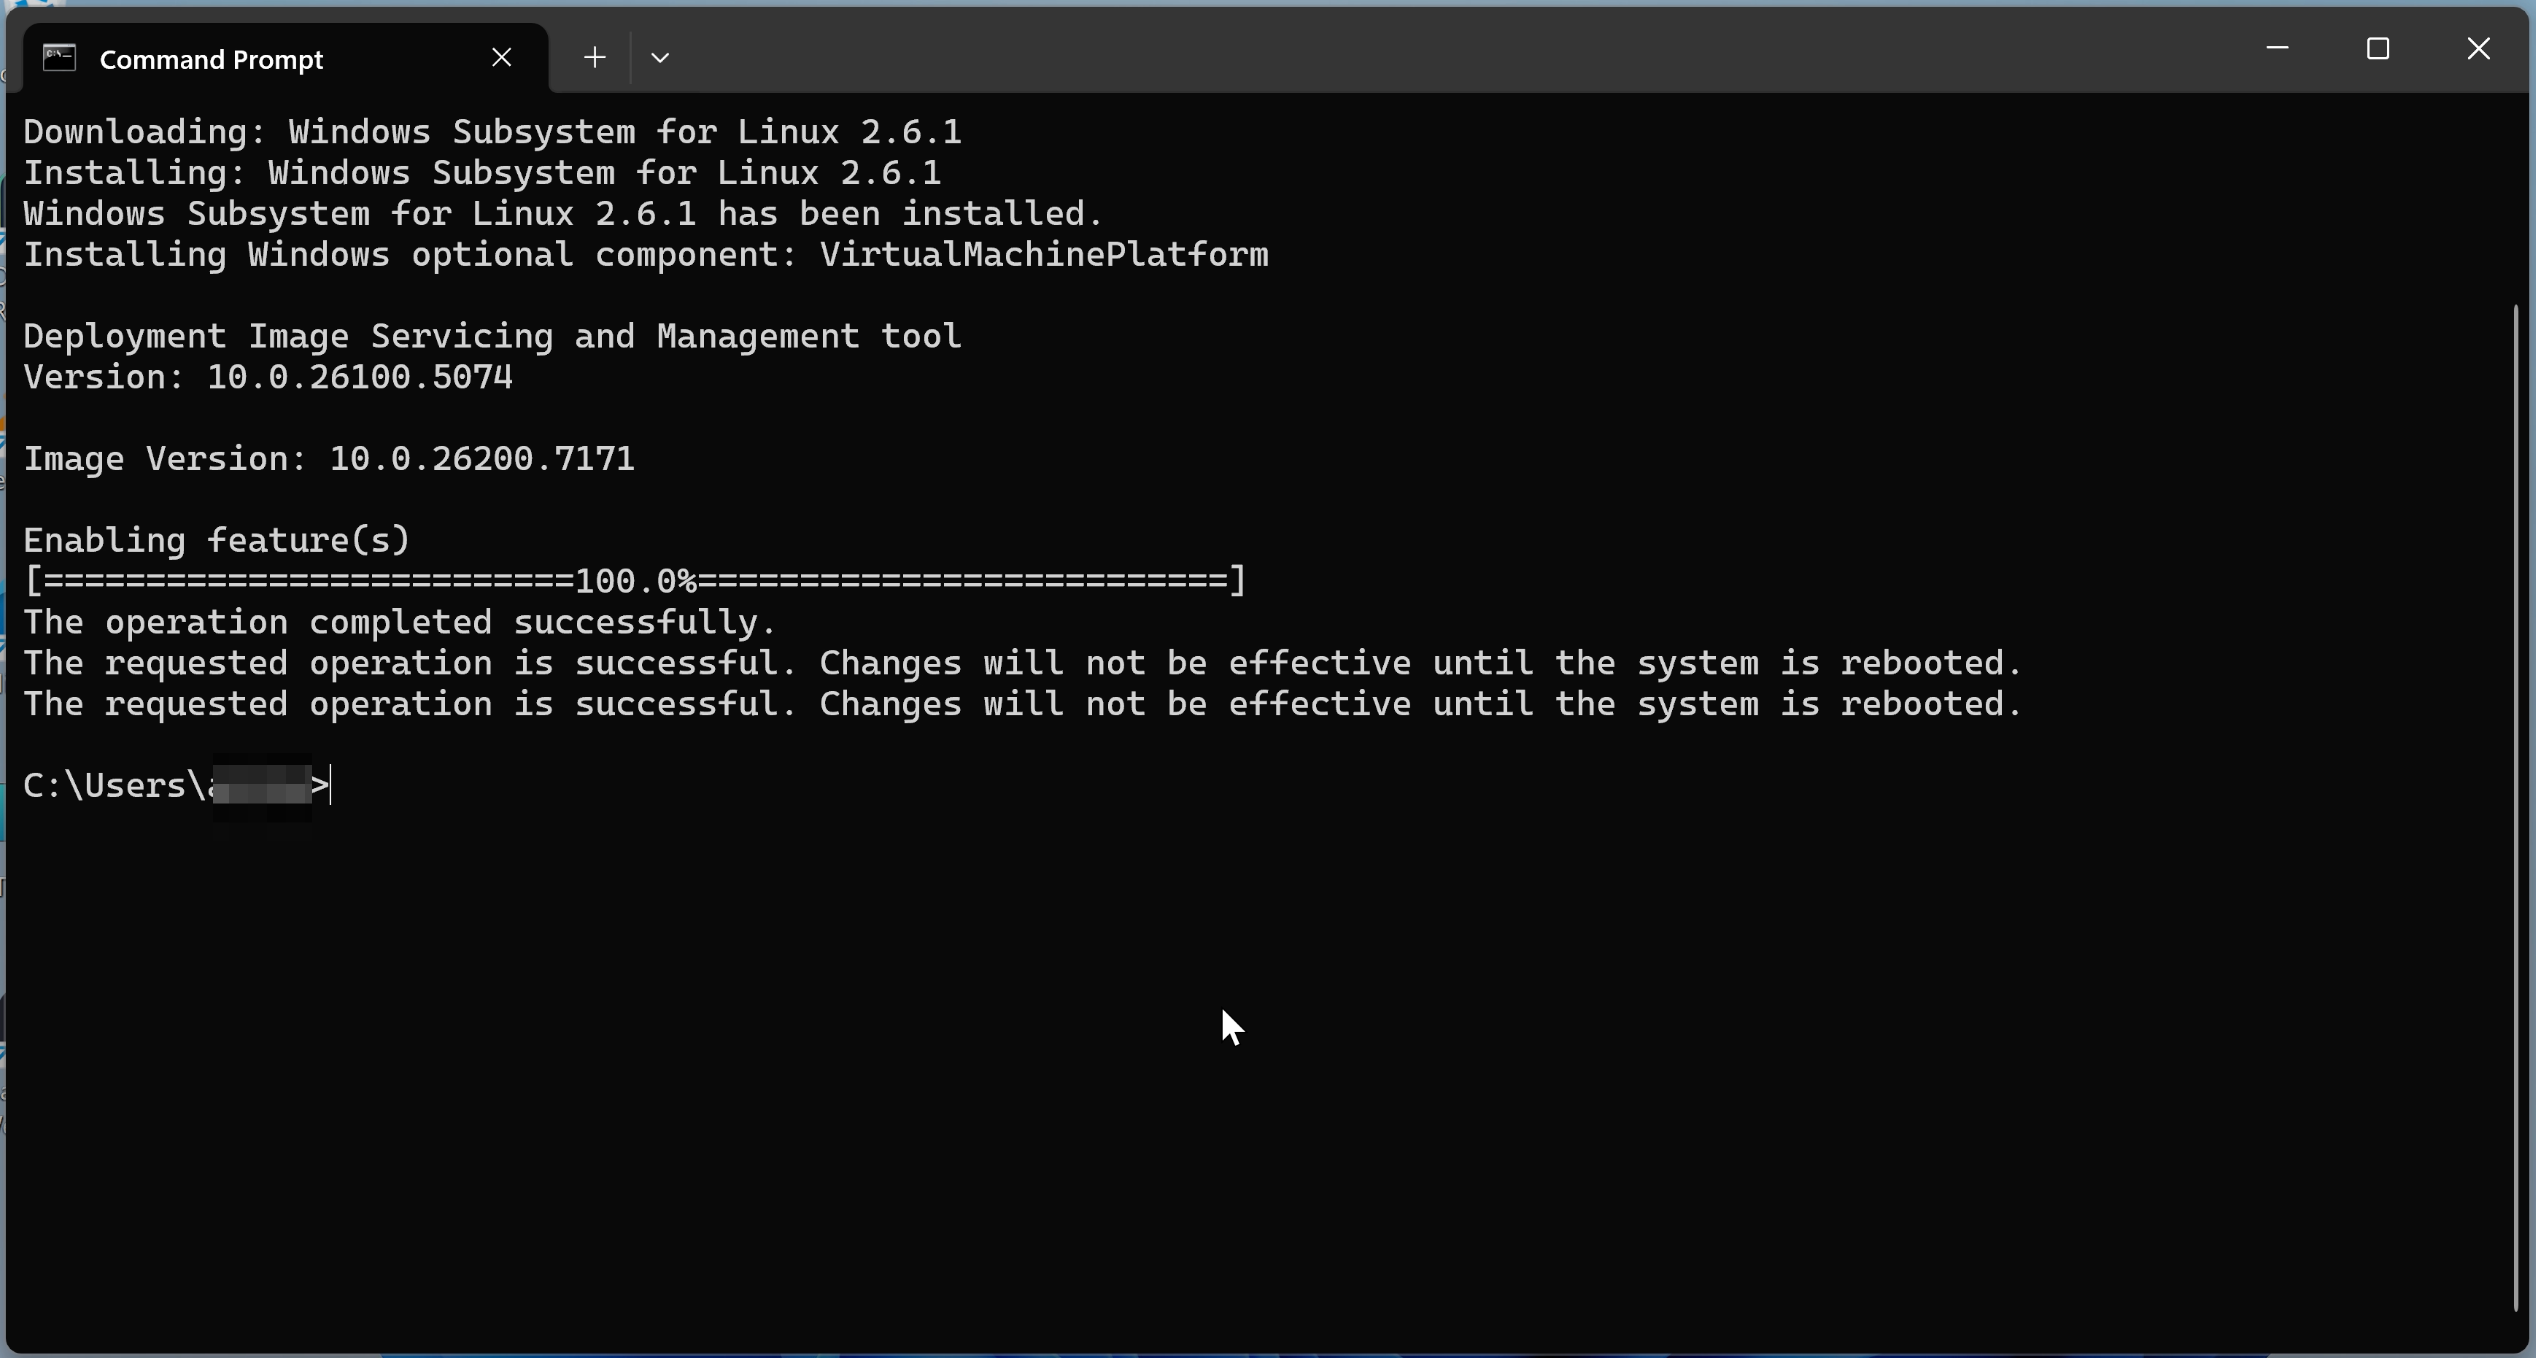
After installation completion, I restarted the PC and opened Command Prompt again with administrator privileges.
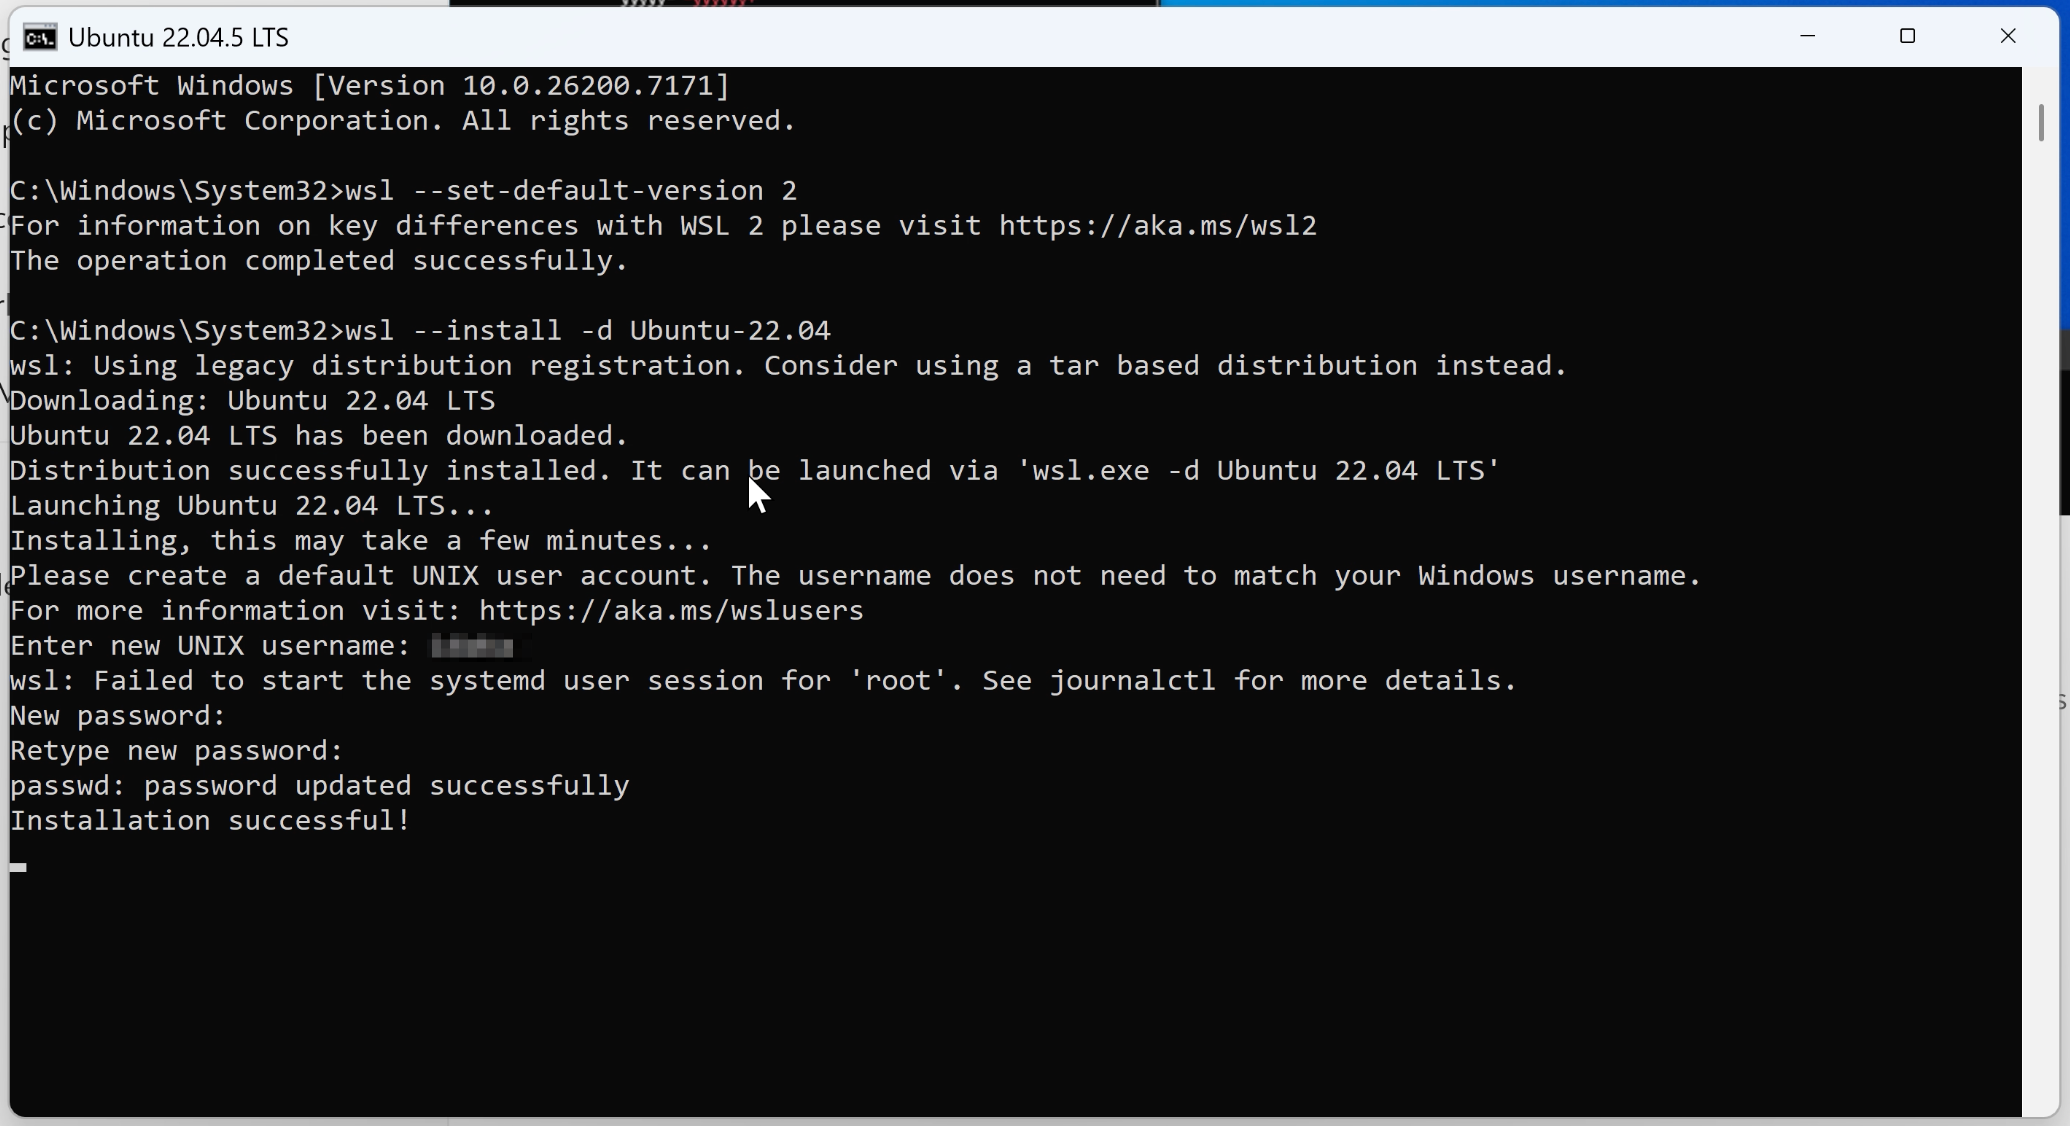
I set WSL's default version to 2 and installed Ubuntu 22.04, which has good compatibility with ROS2 Jazzy. During the process, I set up Ubuntu username and password.
> wsl --set-default-version 2
> wsl --install -d Ubuntu-22.04
Step 2: NVIDIA Isaac Sim Installation
Next, I installed Isaac Sim itself.
1. Verifying CUDA Version
I ran the nvidia-smi command in Command Prompt to confirm that a CUDA version compatible with Isaac Sim was installed. (This command is bundled with the NVIDIA App installation from earlier)
> nvidia-smi

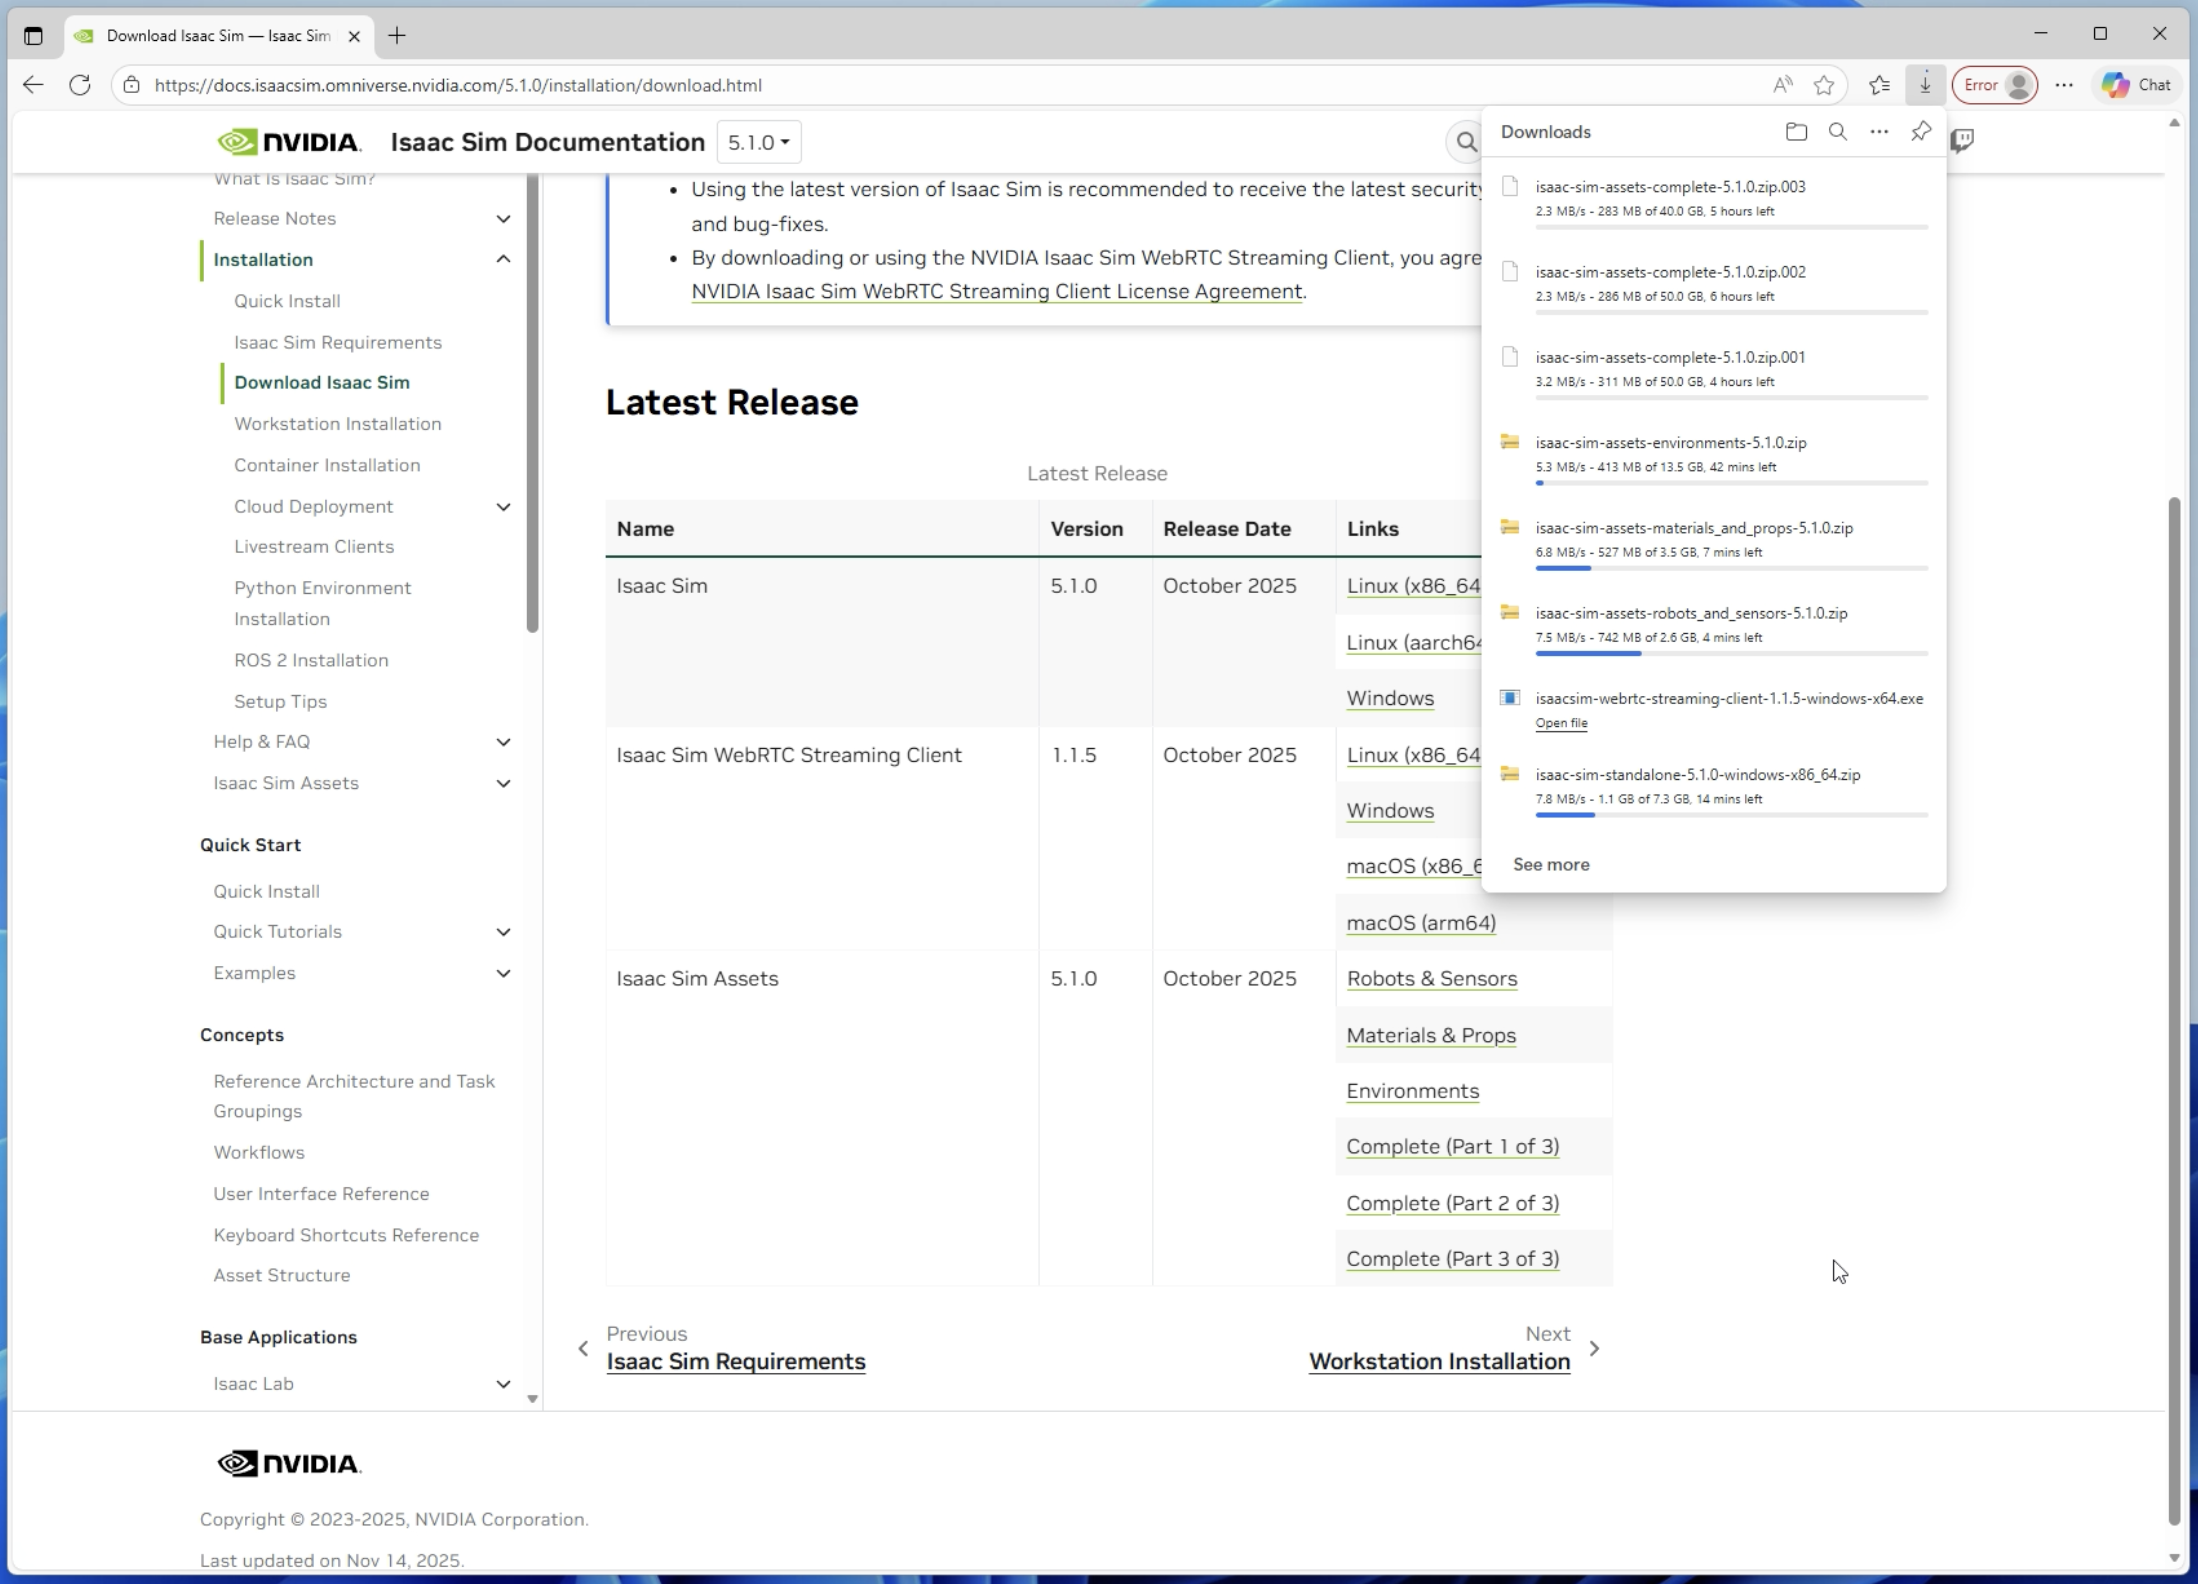
2. Downloading Isaac Sim
From the NVIDIA Isaac Sim official website, I downloaded the following components:
- Isaac Sim main software version 5.1.0
- Compatibility Checker
- Isaac Sim Assets (sample assets)
- Isaac Sim WebRTC Streaming Client (optional)
3. Running the Compatibility Checker
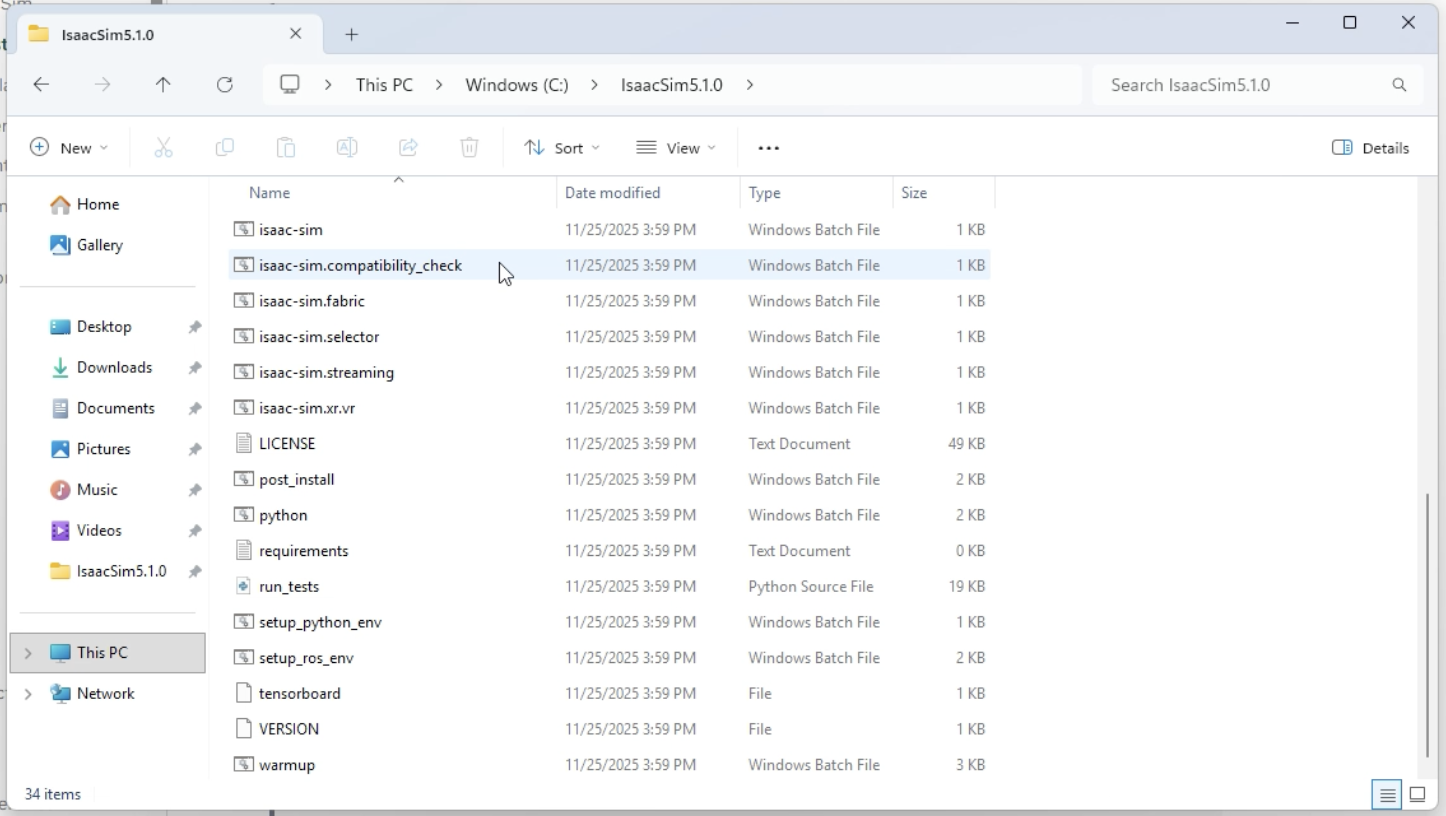
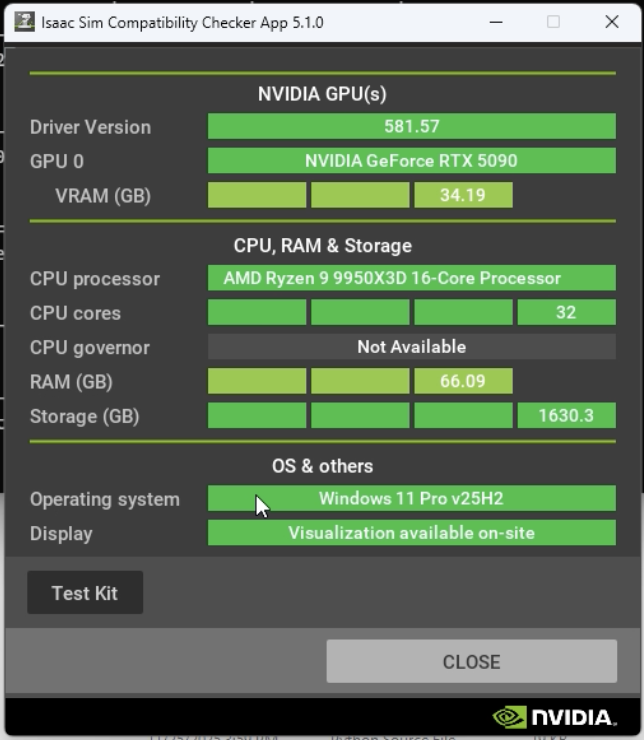
I ran issac-sim.compatibility_check.bat in the extracted folder to verify that my PC meets Isaac Sim's operational requirements.
Everything checked out fine, and I was able to proceed without issues.
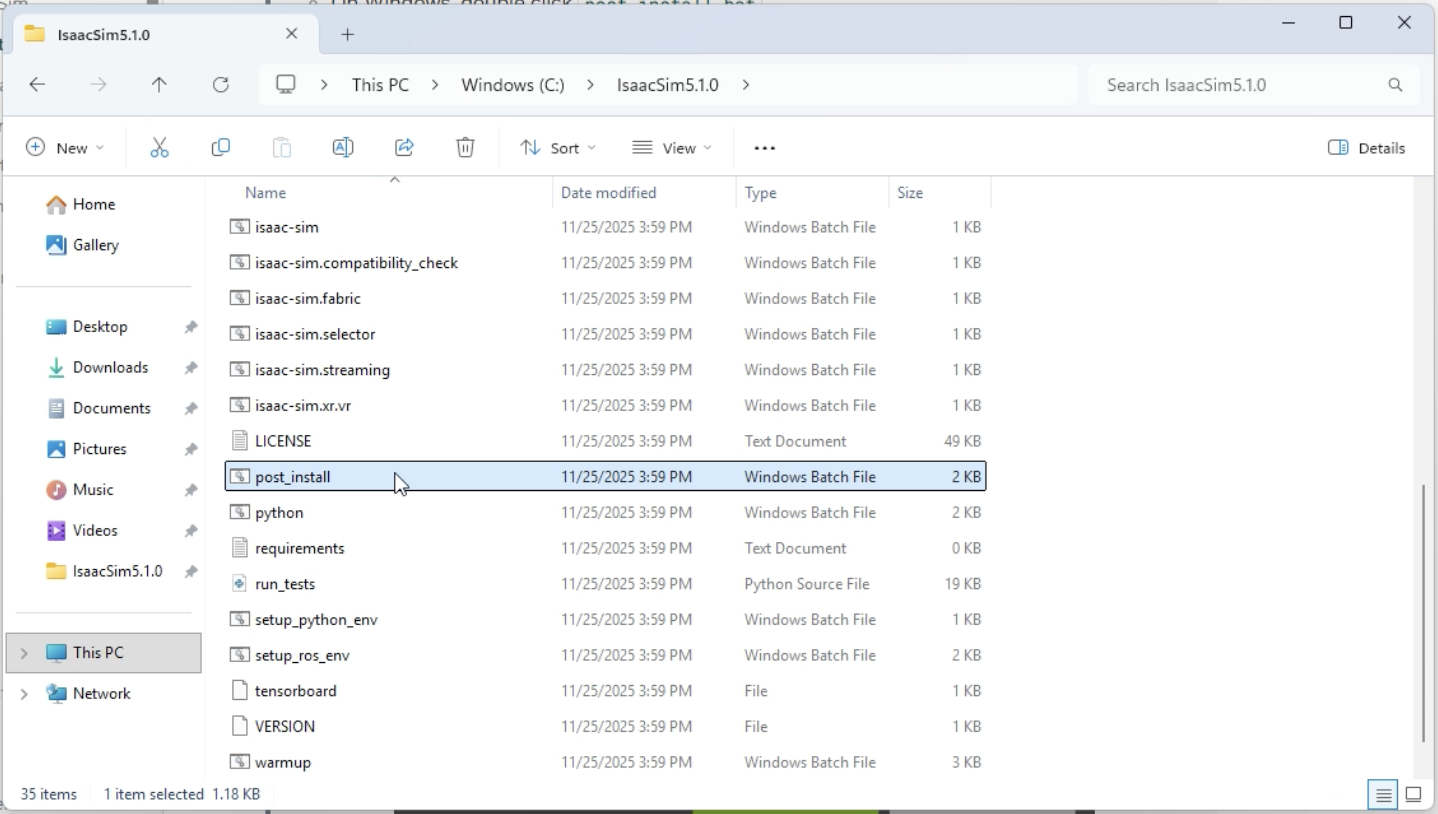
4. Setting up Symbolic Links
I ran post_install.bat to create symbolic links needed for tutorials and other functions.
5. Launching Isaac Sim
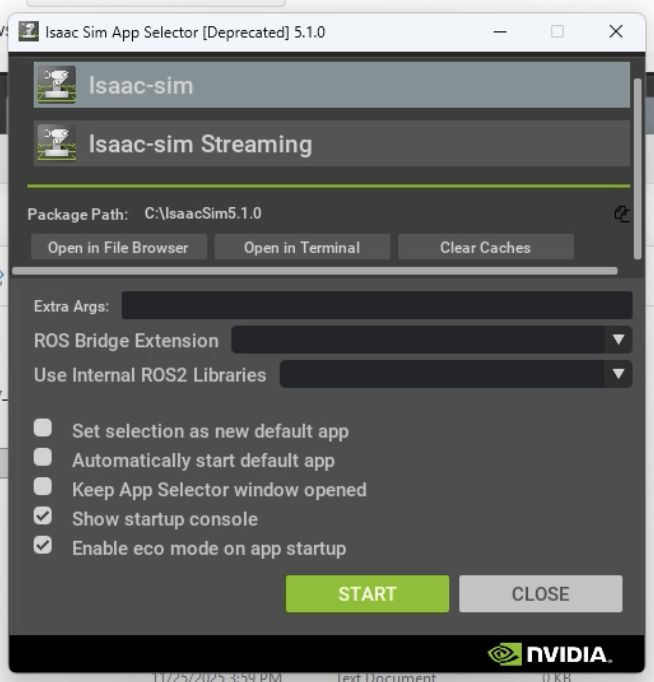
I double-clicked isaac-sim.selector.bat to open the startup launcher.
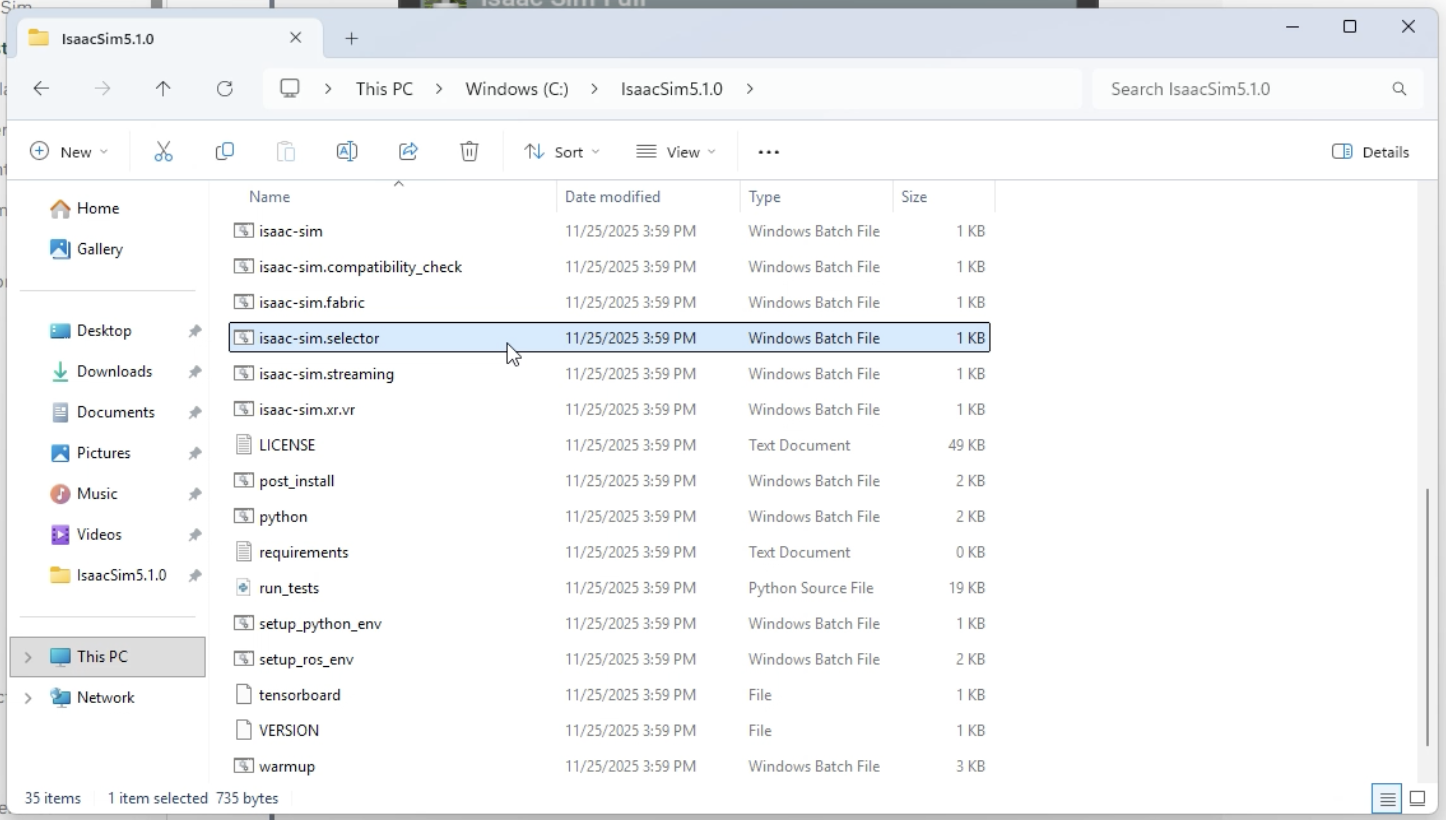
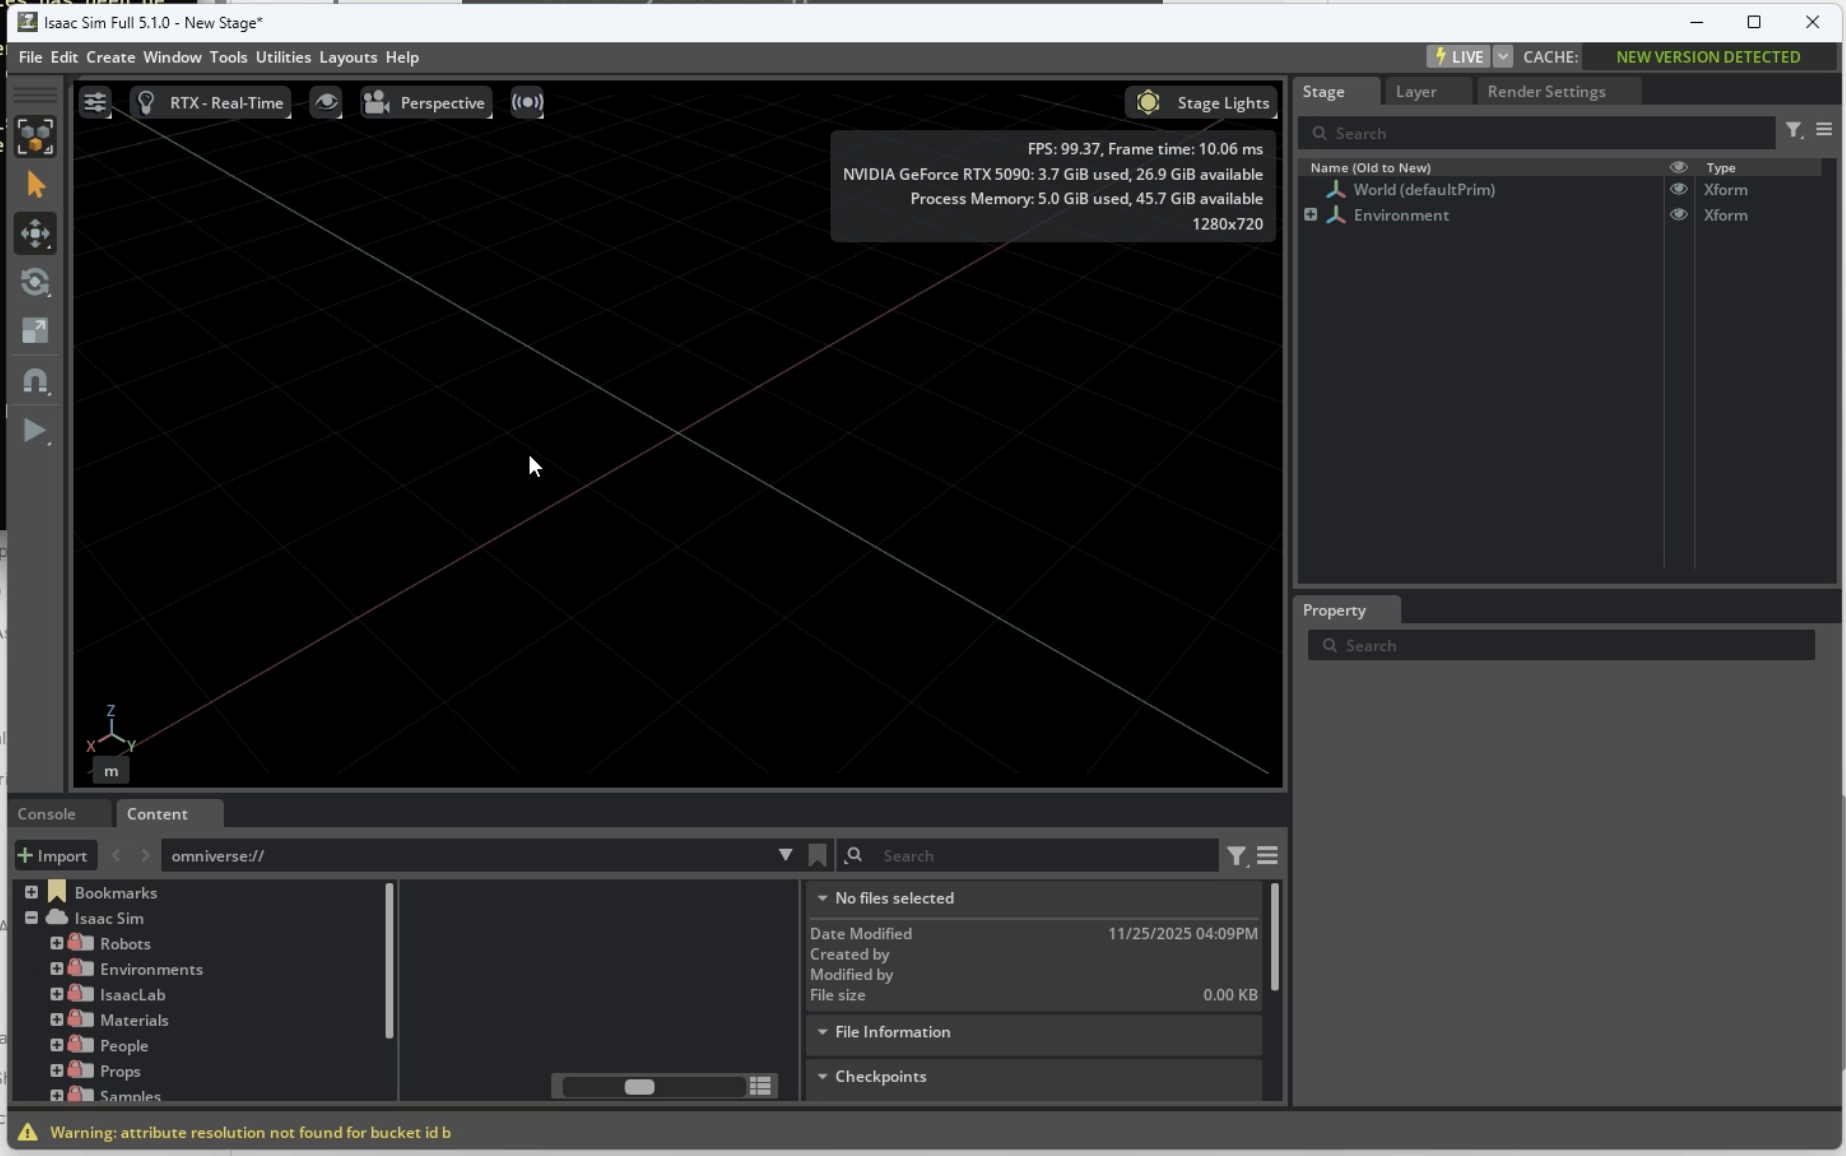
I selected "isaac-sim" and clicked "Start" to launch Isaac Sim. The initial startup took some time.
When successfully launched, the following screen appeared:
Step 3: Development Tools Setup
To facilitate comfortable simulation development, I installed the following tools:
-
Visual Studio 2022 Build Tools: Required for building ROS2 custom nodes etc.
> winget install --id=Microsoft.VisualStudio.2022.BuildTools -e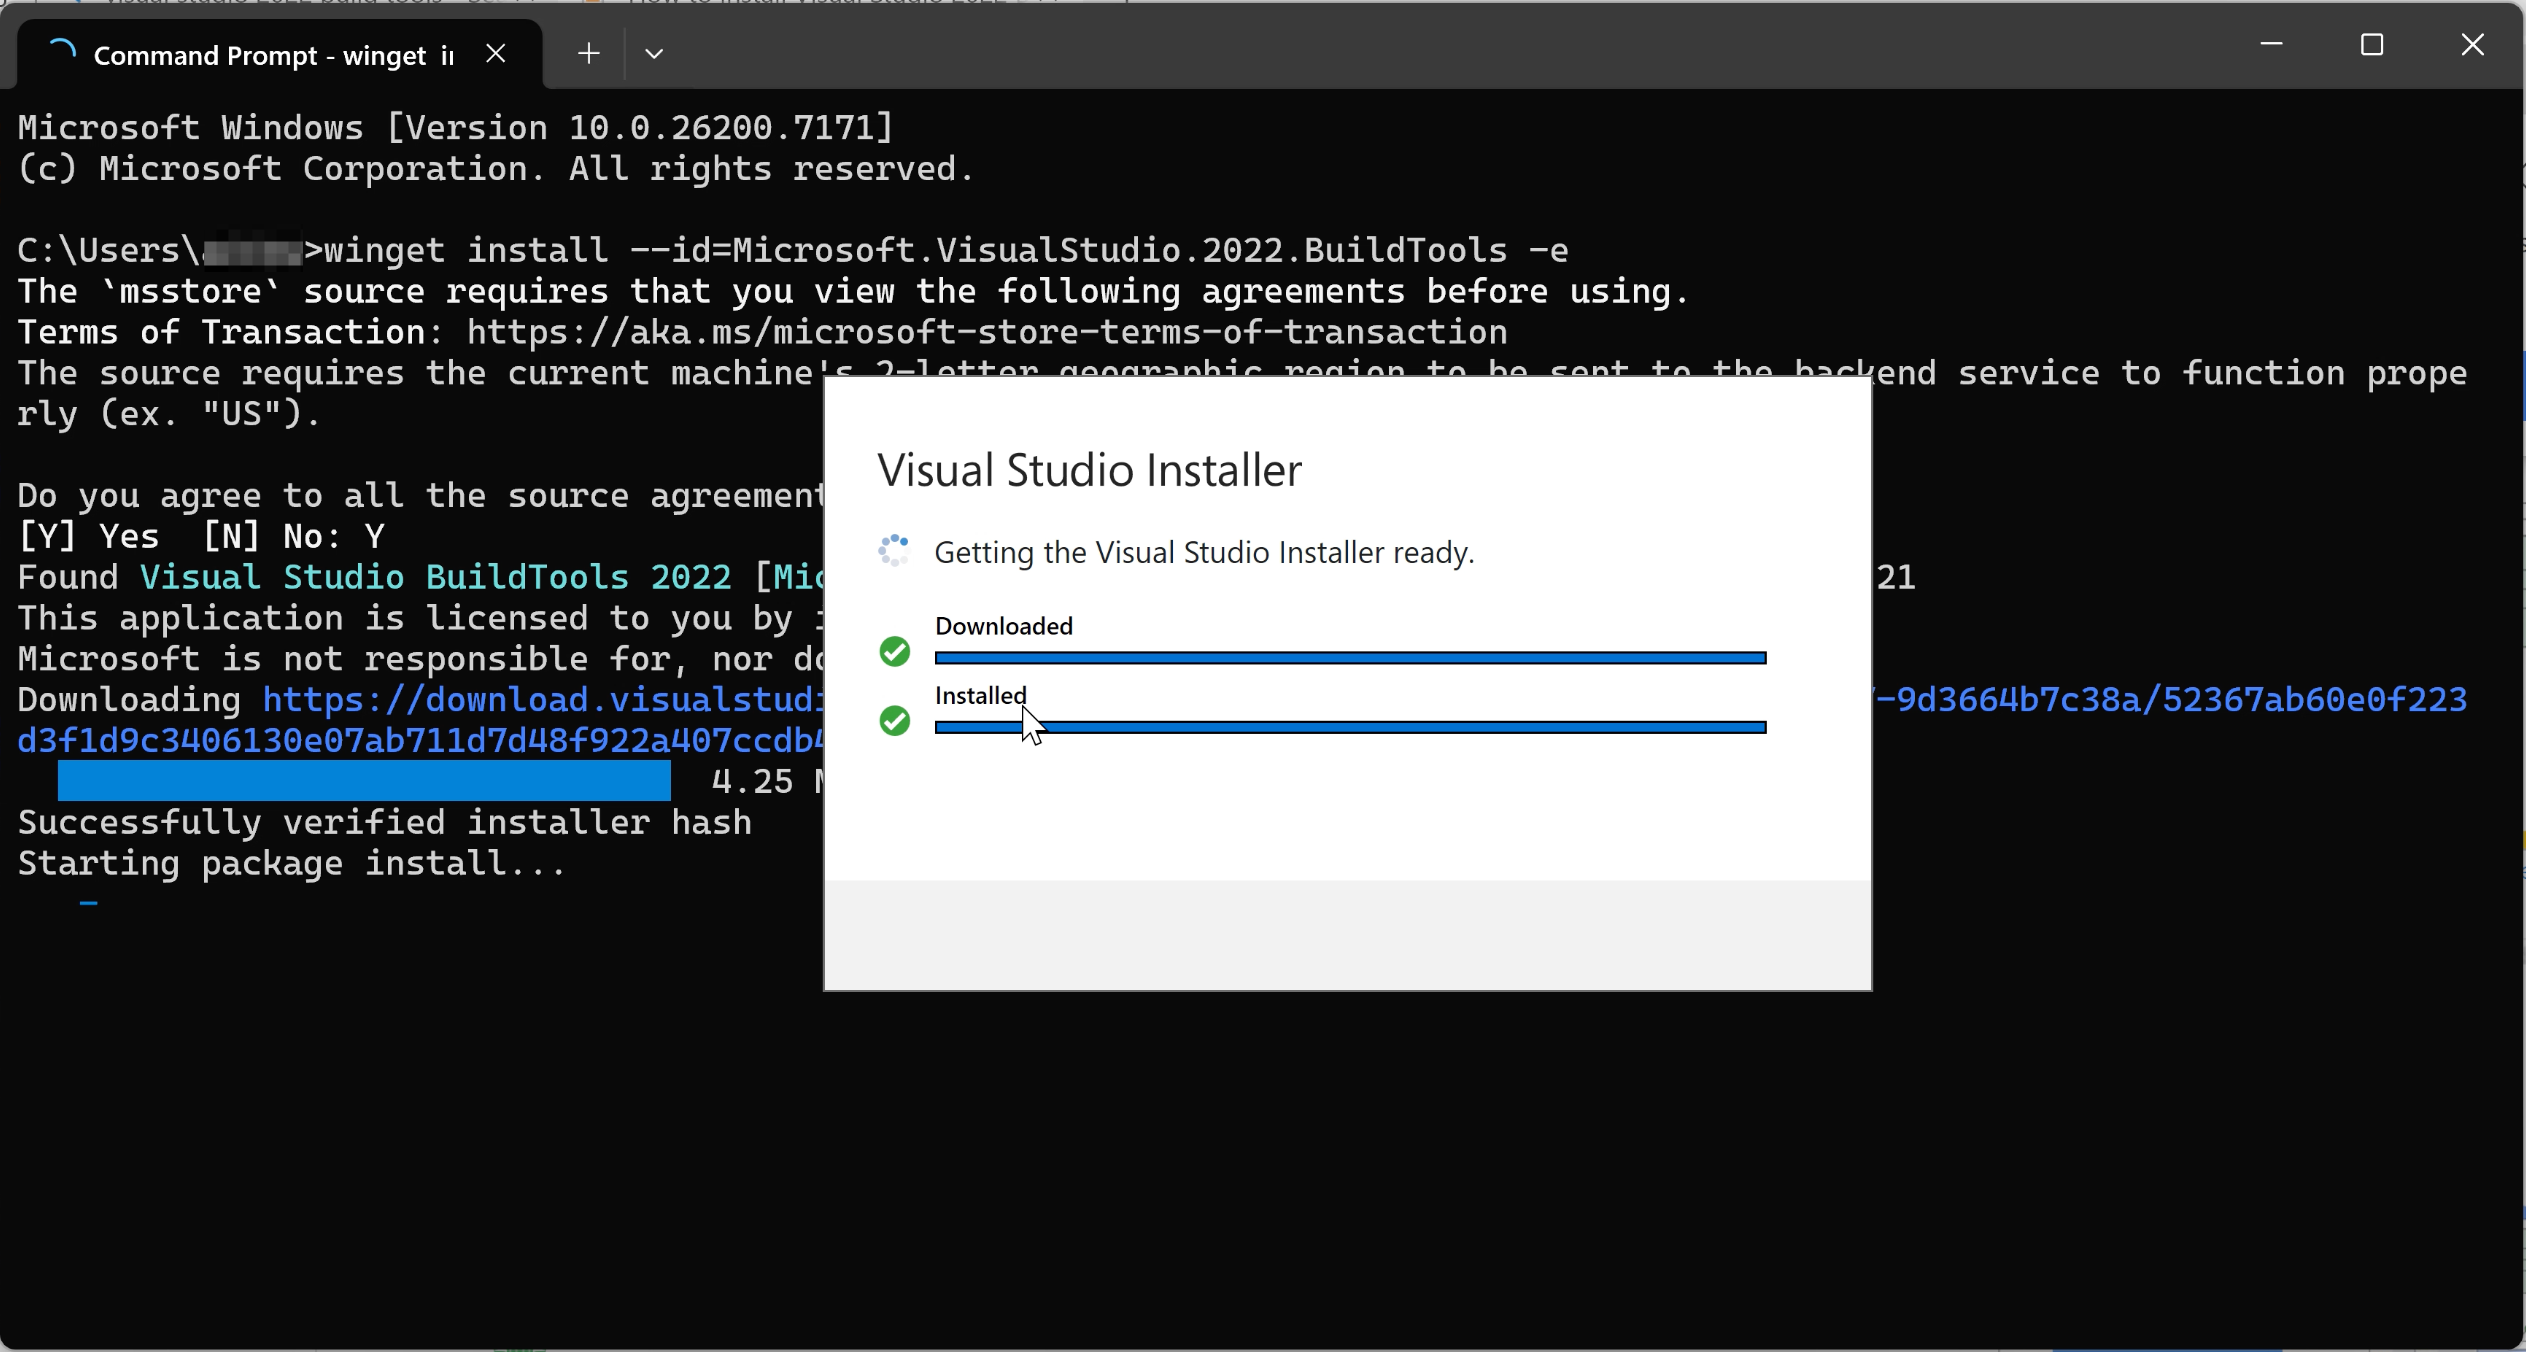
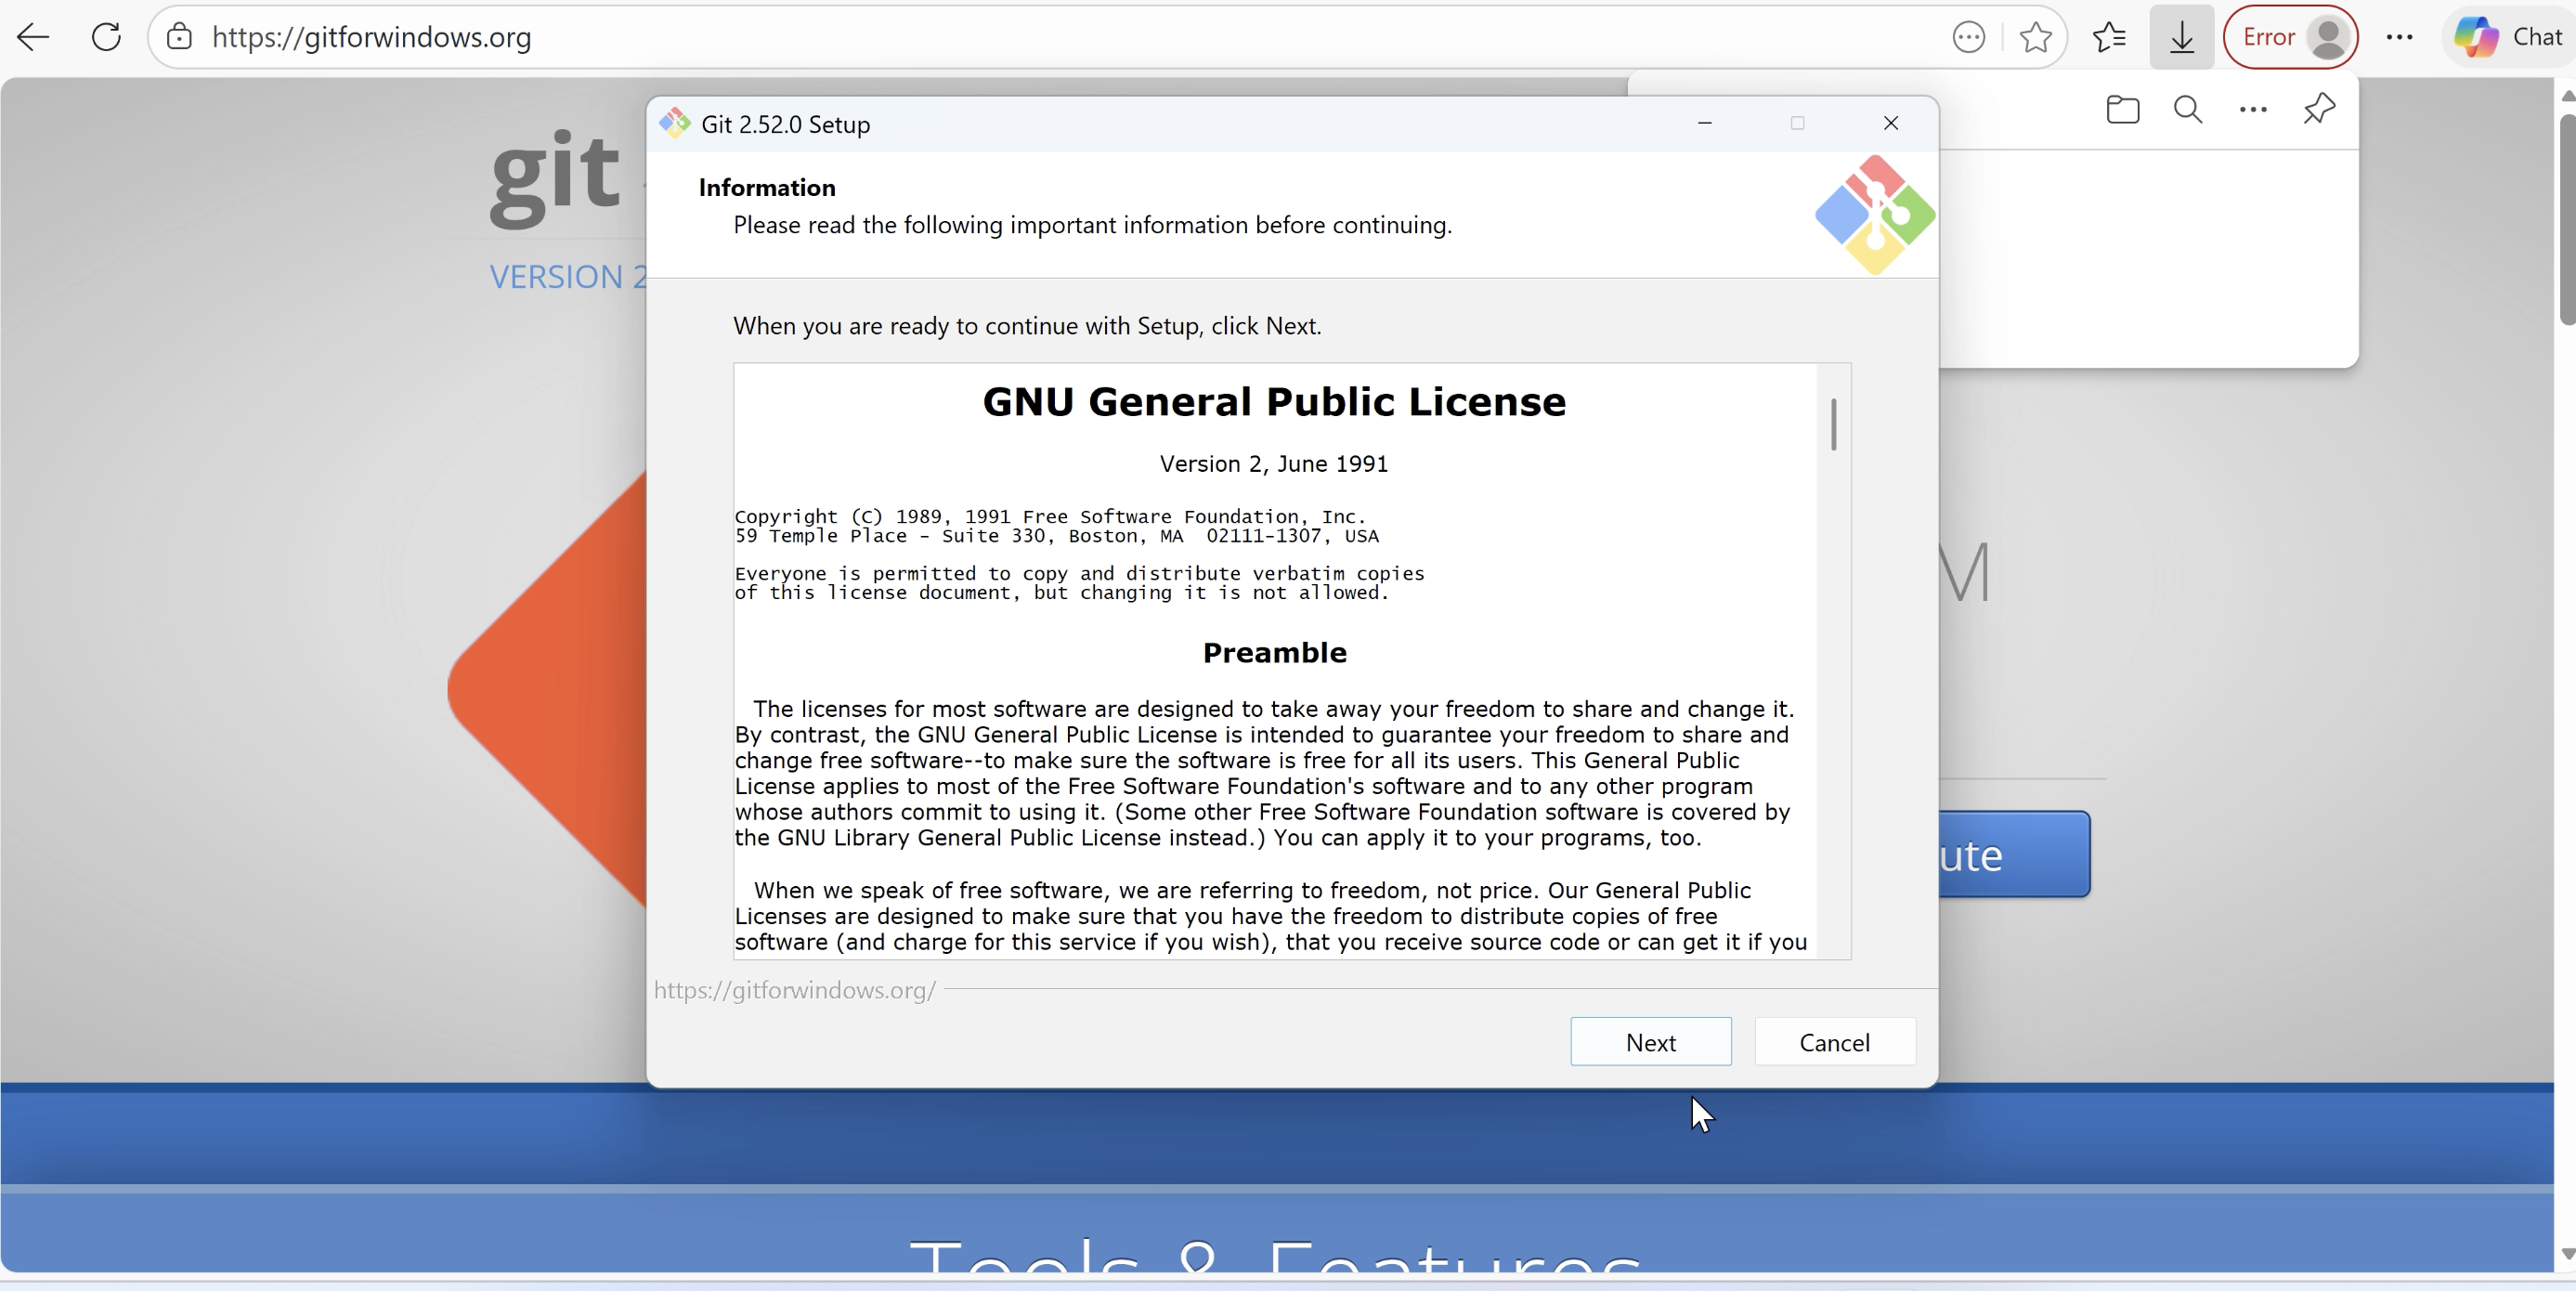
-
Git for Windows: Used for source code version control.
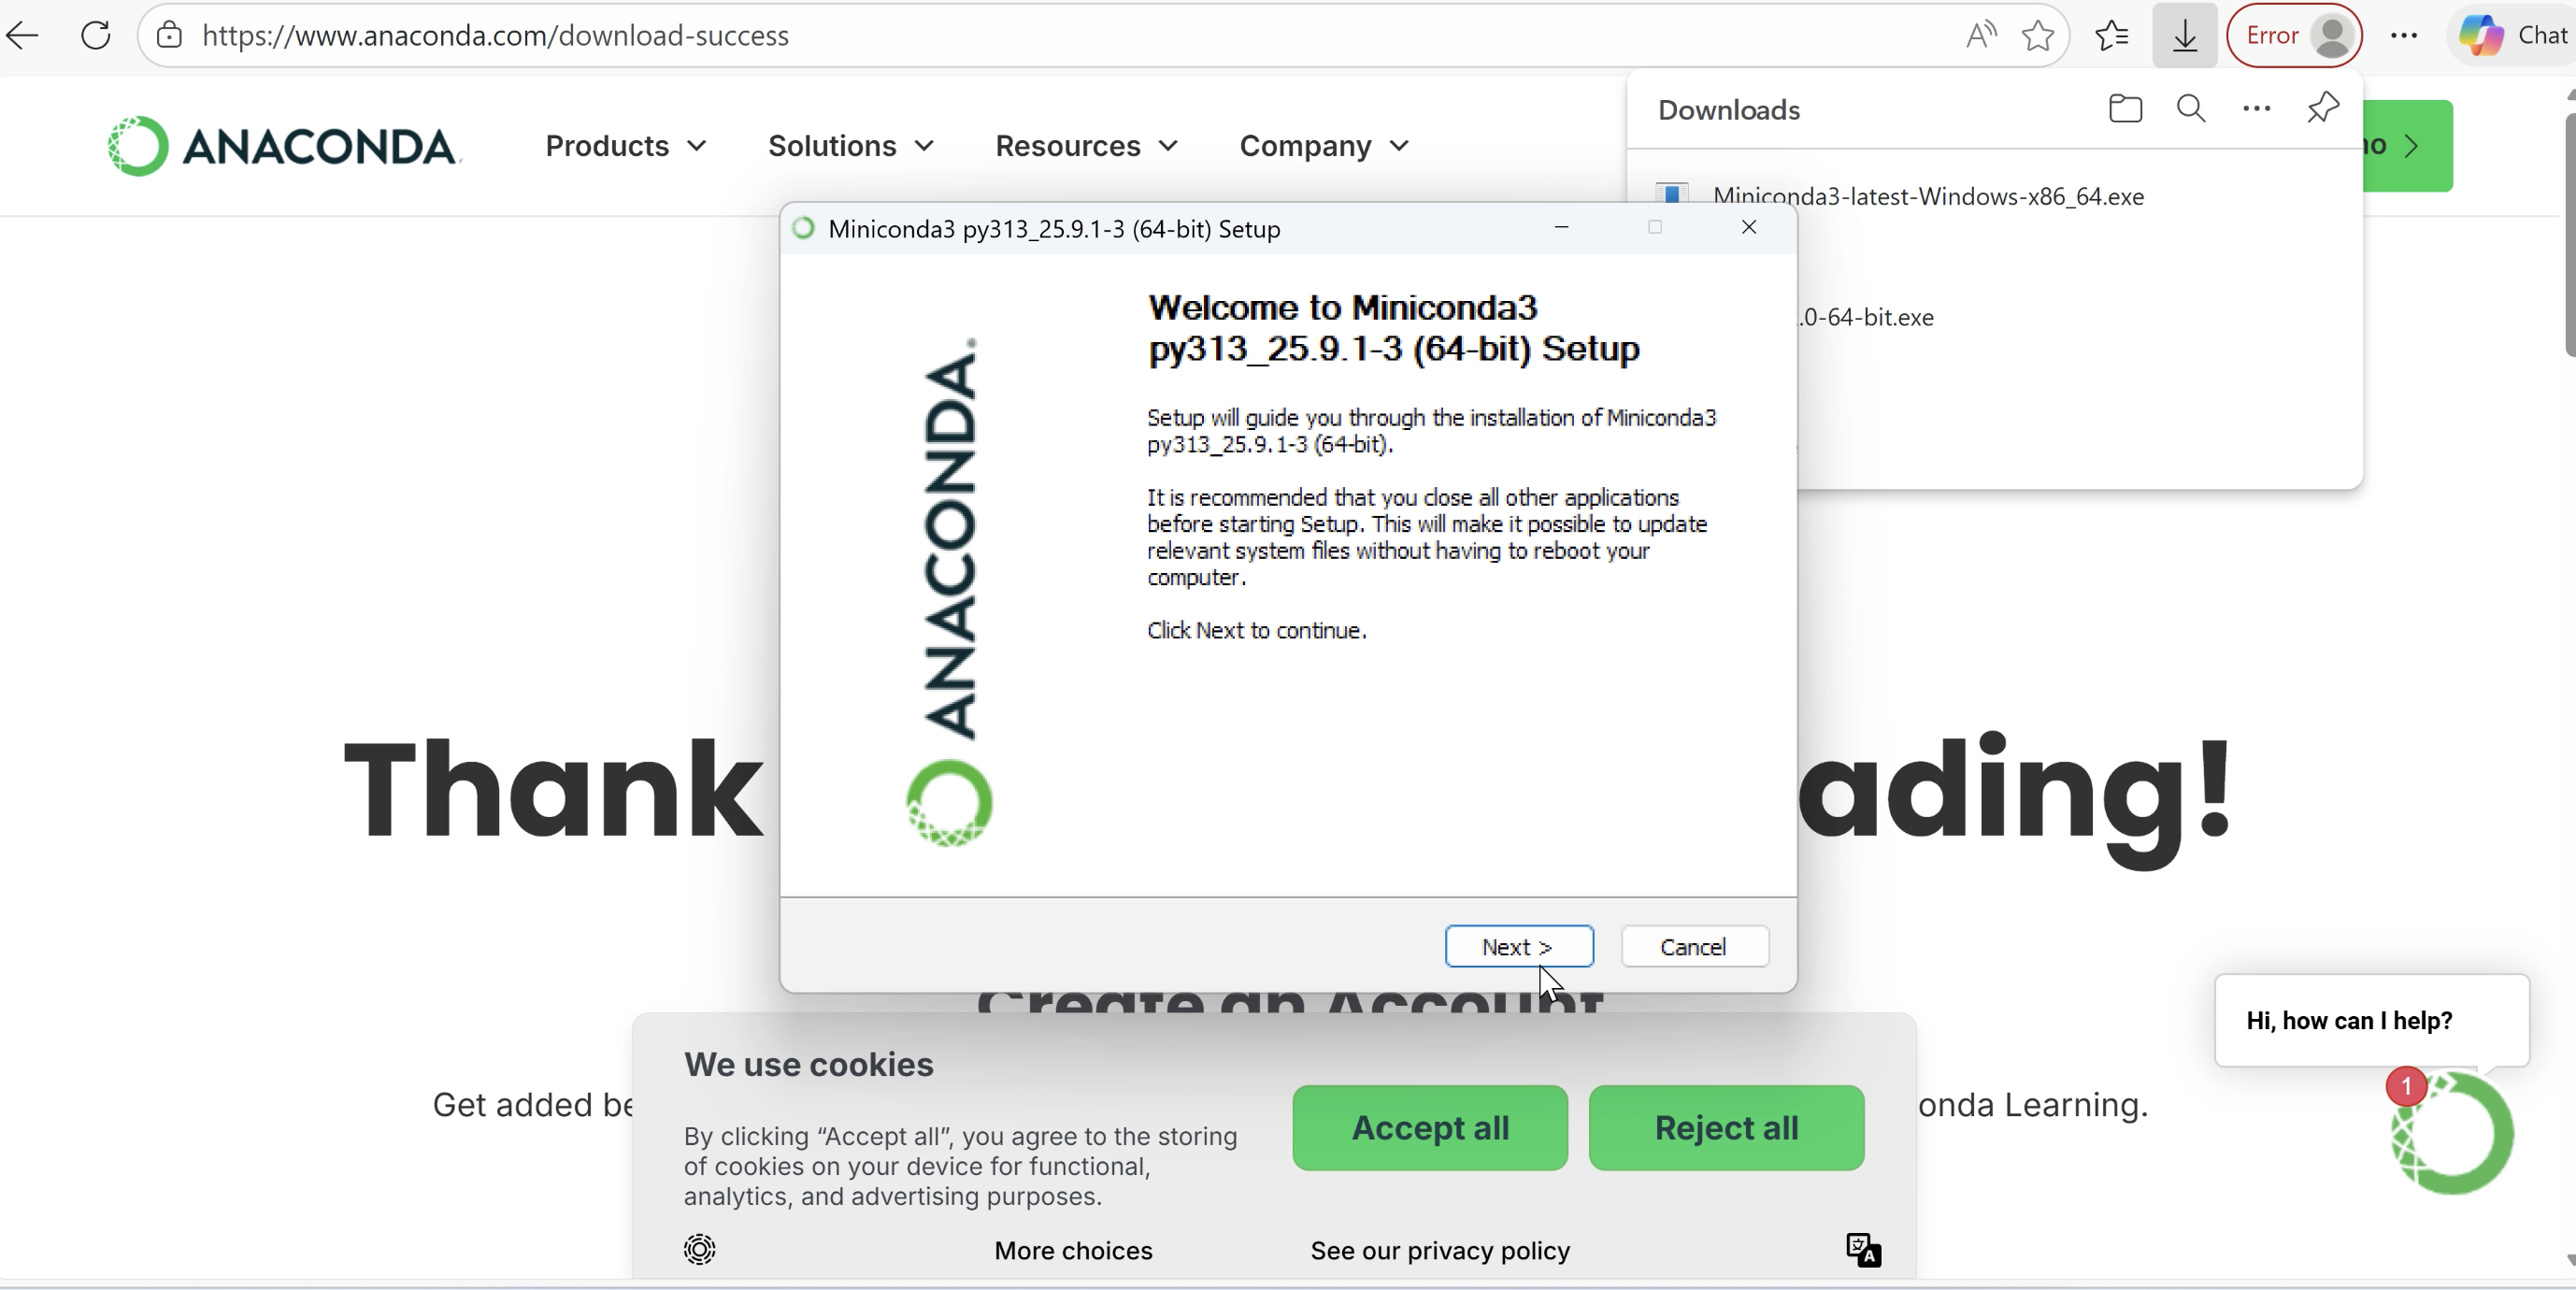
-
Miniconda: Introduced for managing independent Python environments per project. Account creation was required for download.
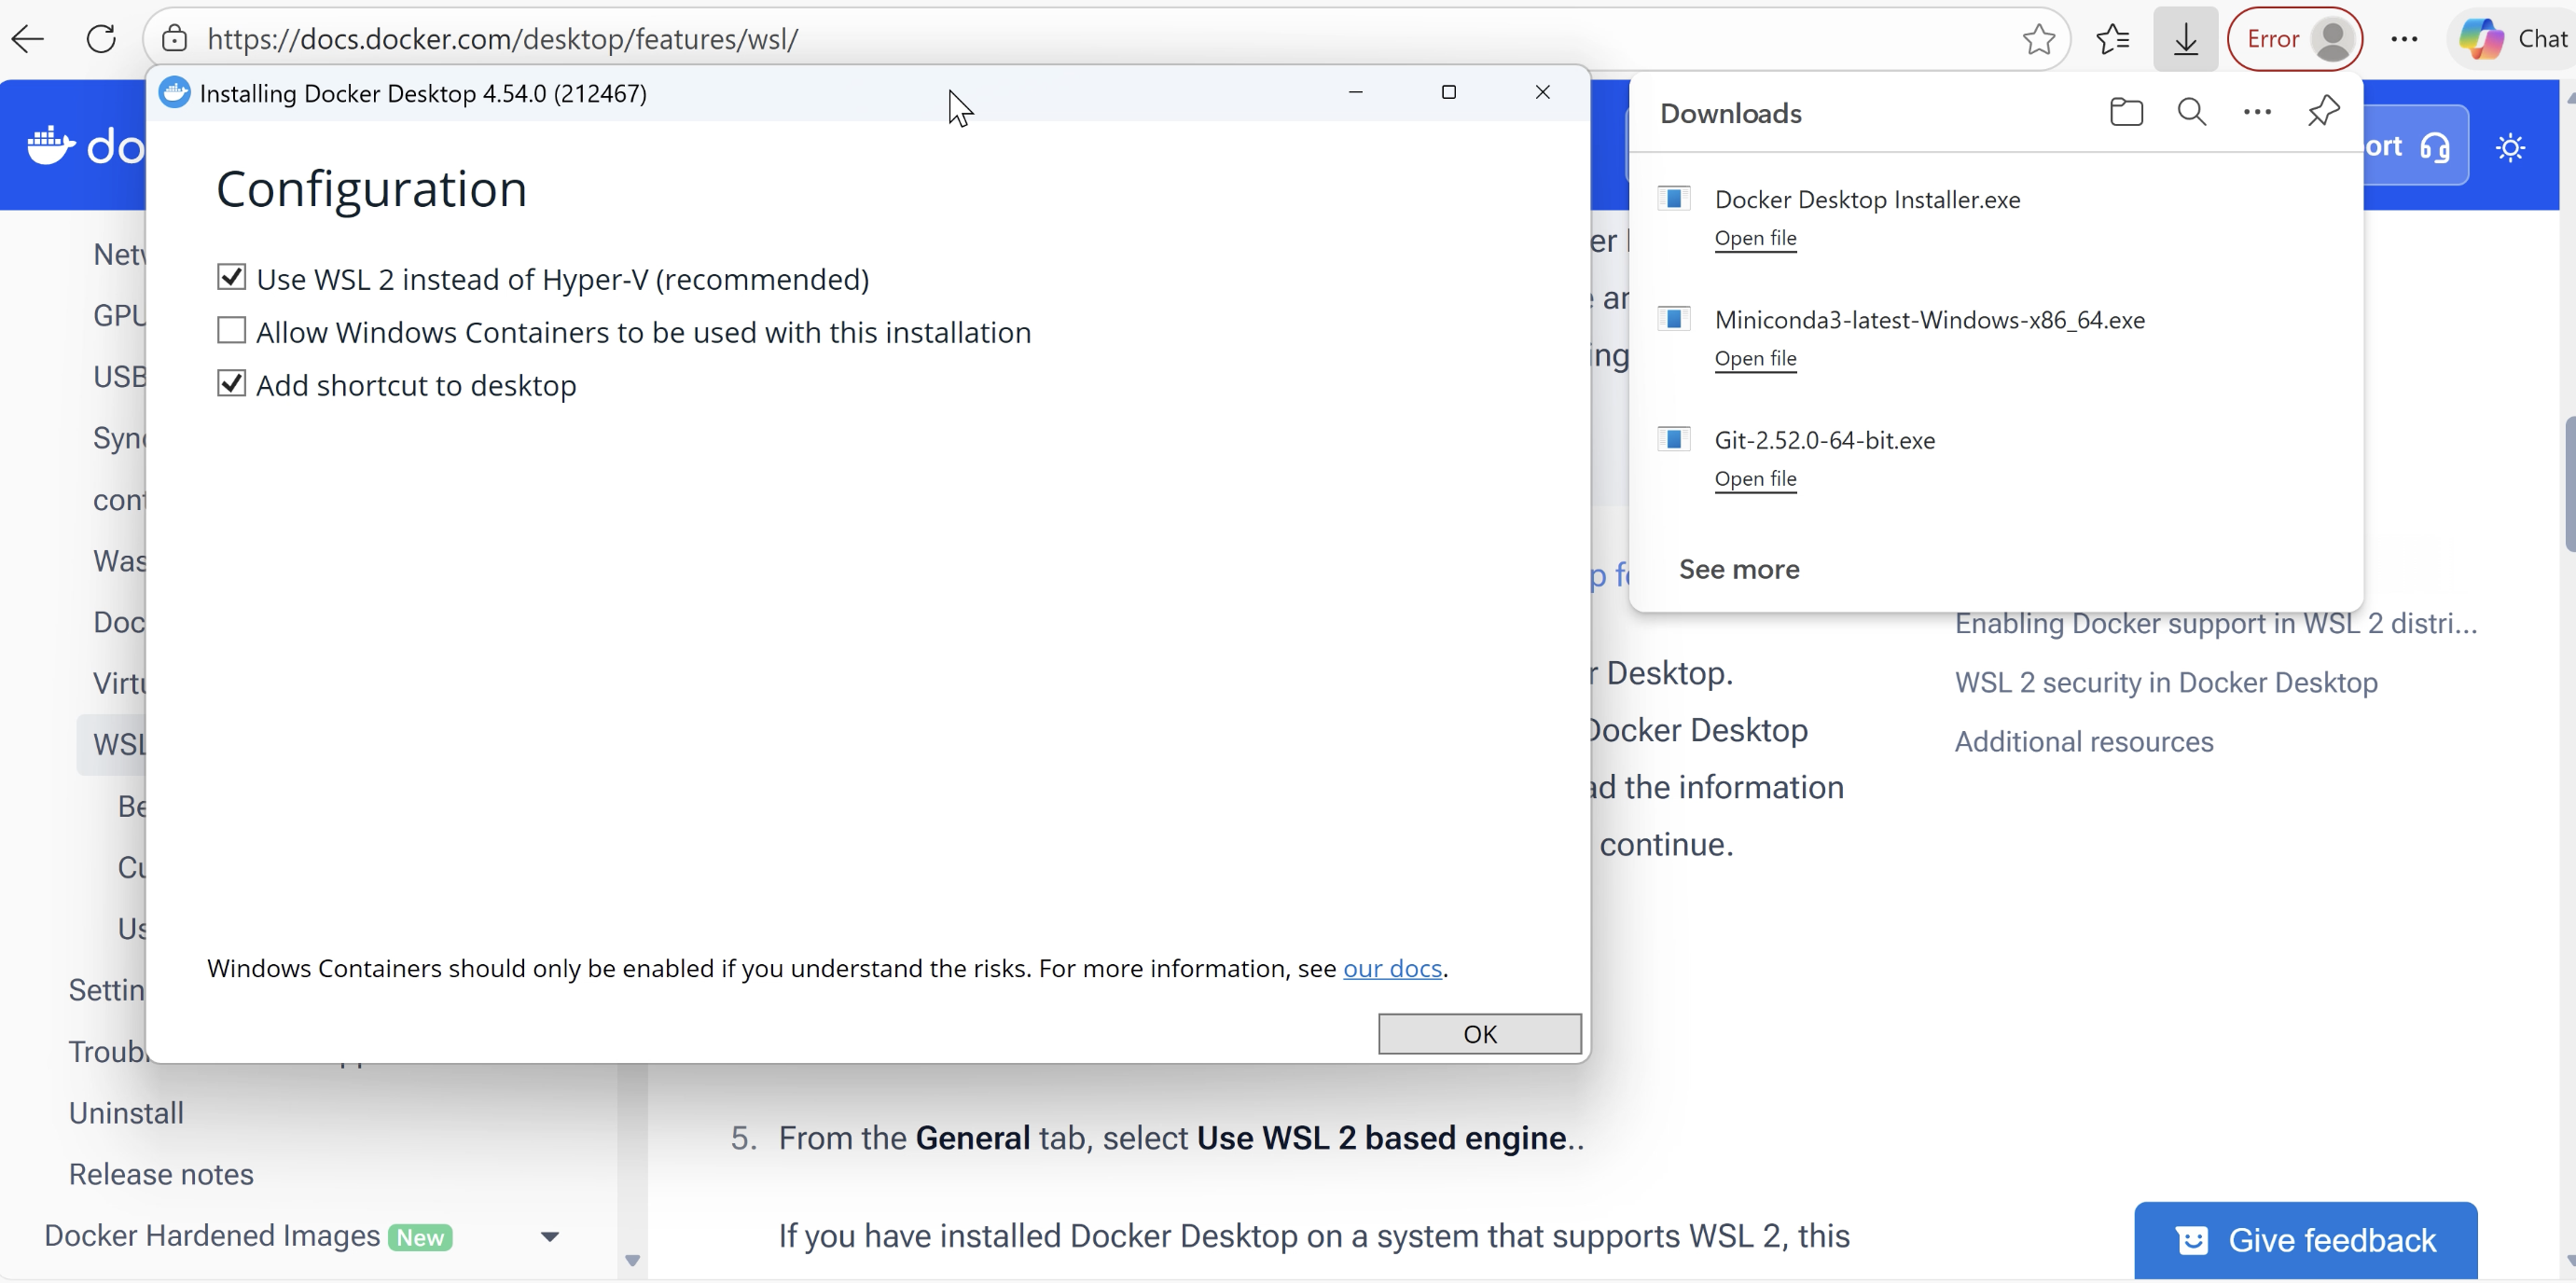
-
Docker Desktop: Installed with WSL2 as backend setting for reproducible environment construction.
-
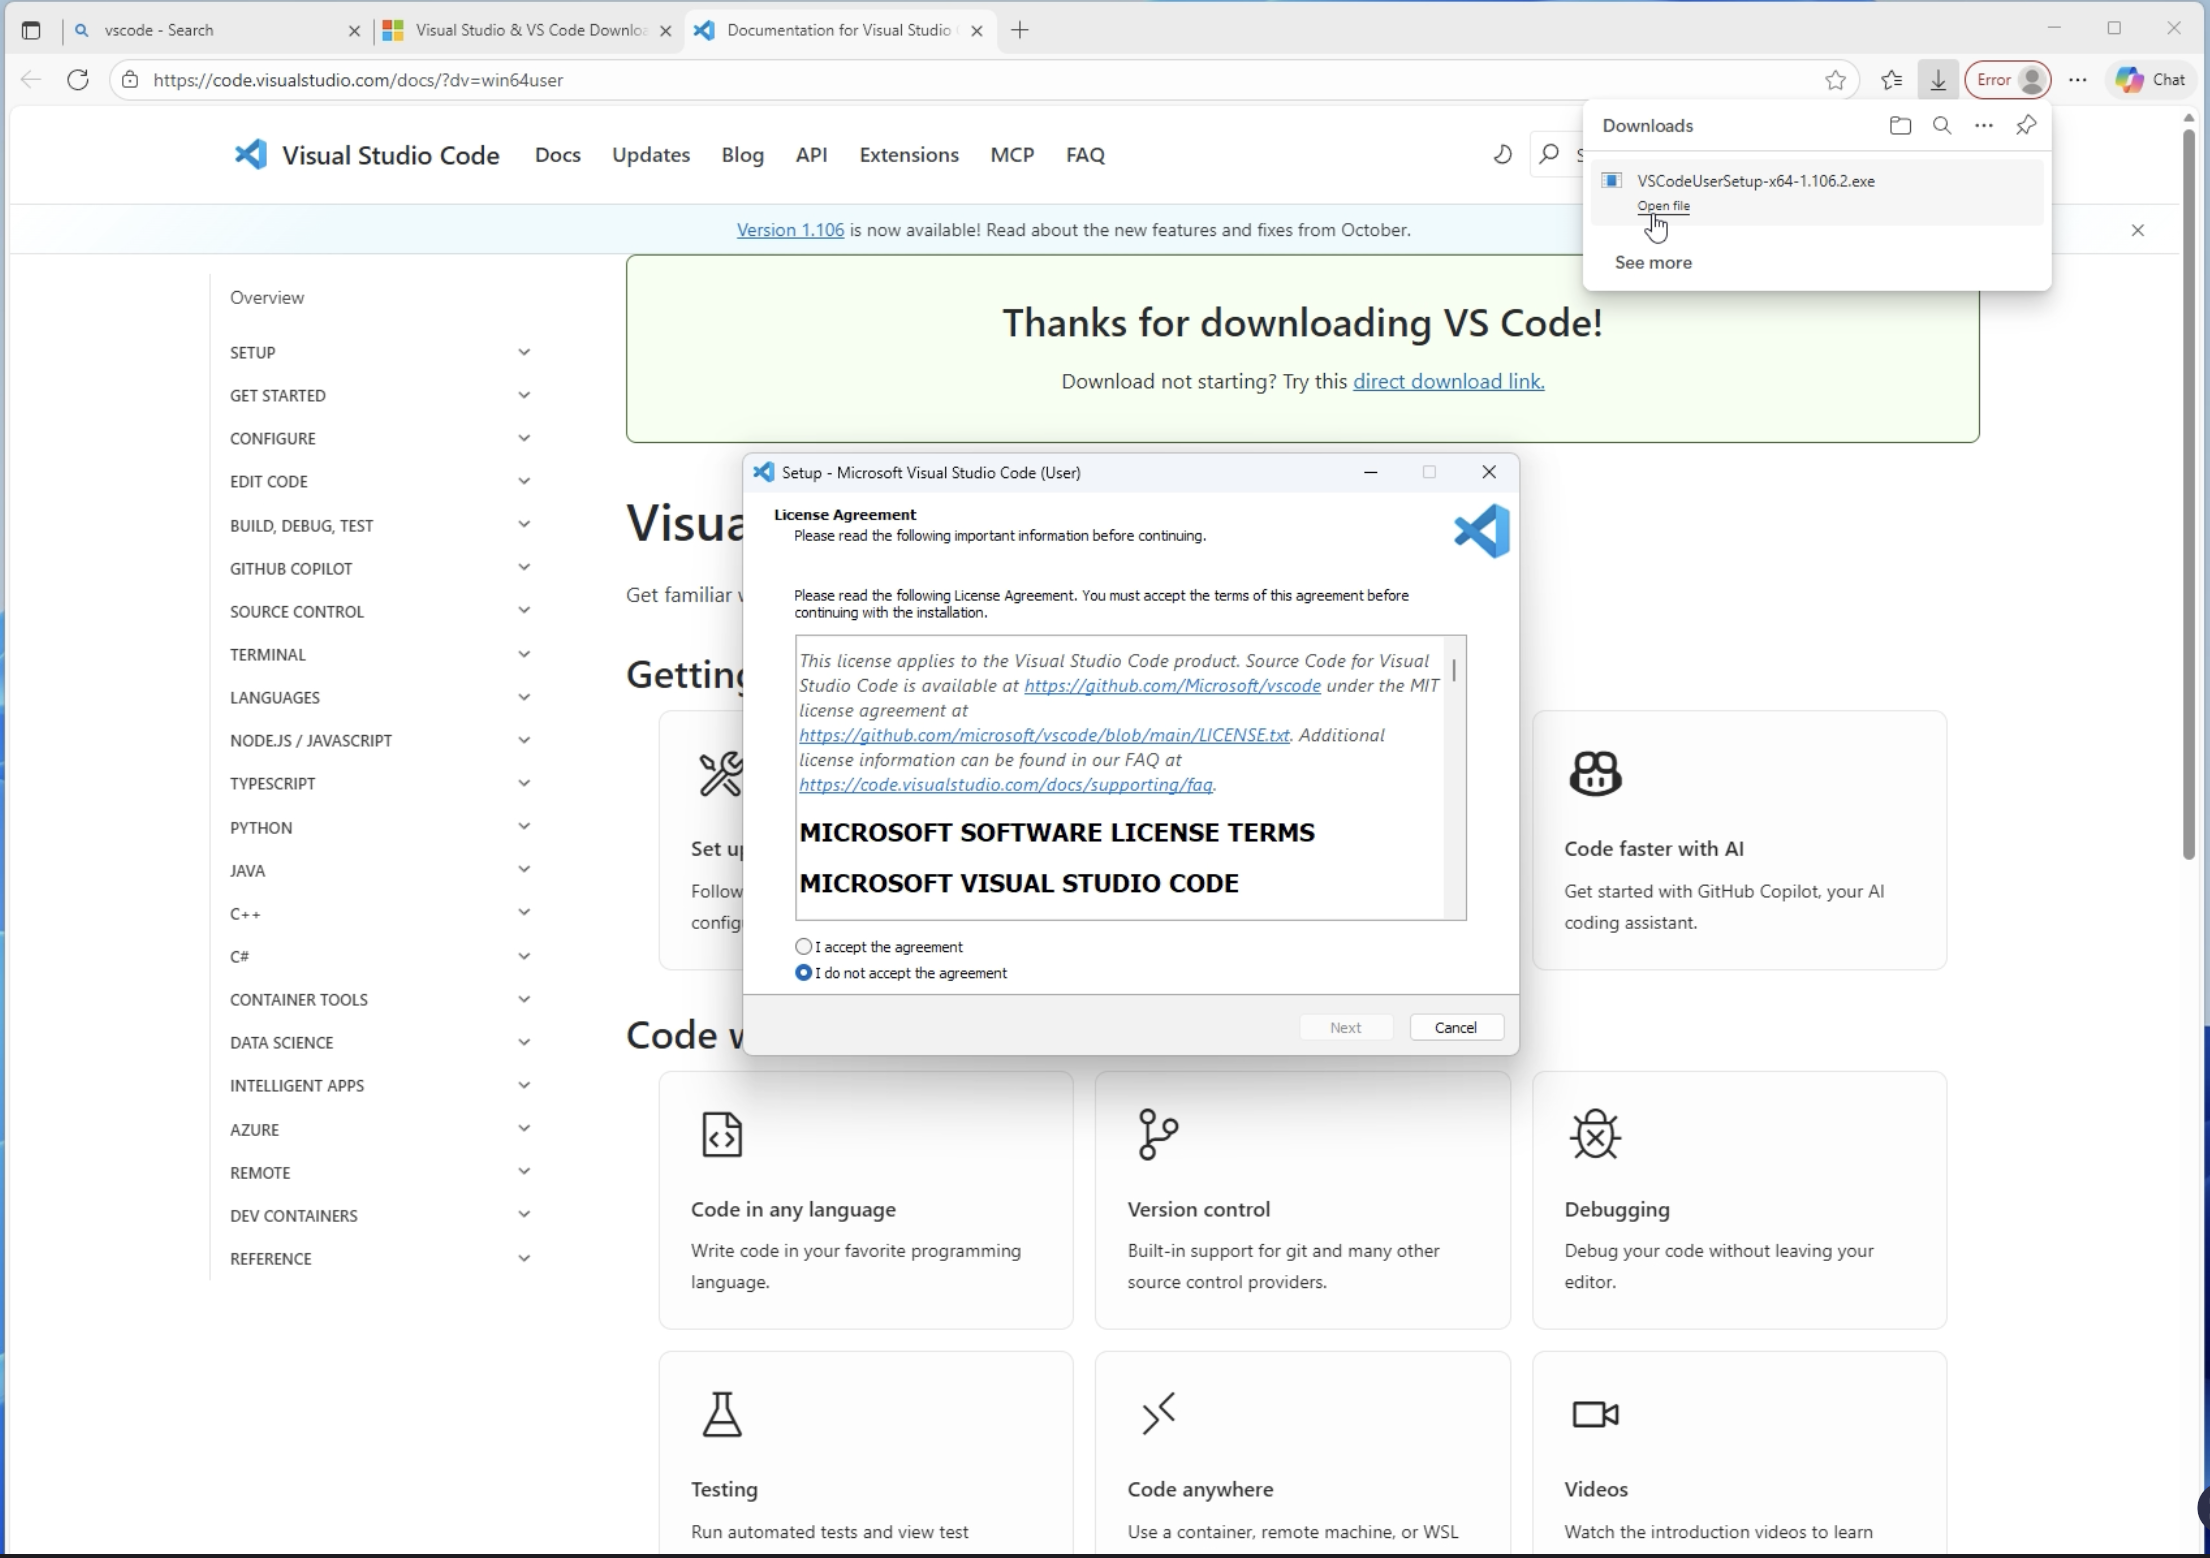
Visual Studio Code: Used as the main editor with the following extensions setup:
- Python (Microsoft)
- Pylance
- Docker
- GitLens
- YAML
- URDF Viewer
Step 4 (Recommended): 3D/CAD Related Tools
For creating and editing 3D models and handling CAD data, I also installed the following tools:
- Blender: 3D modeling software.
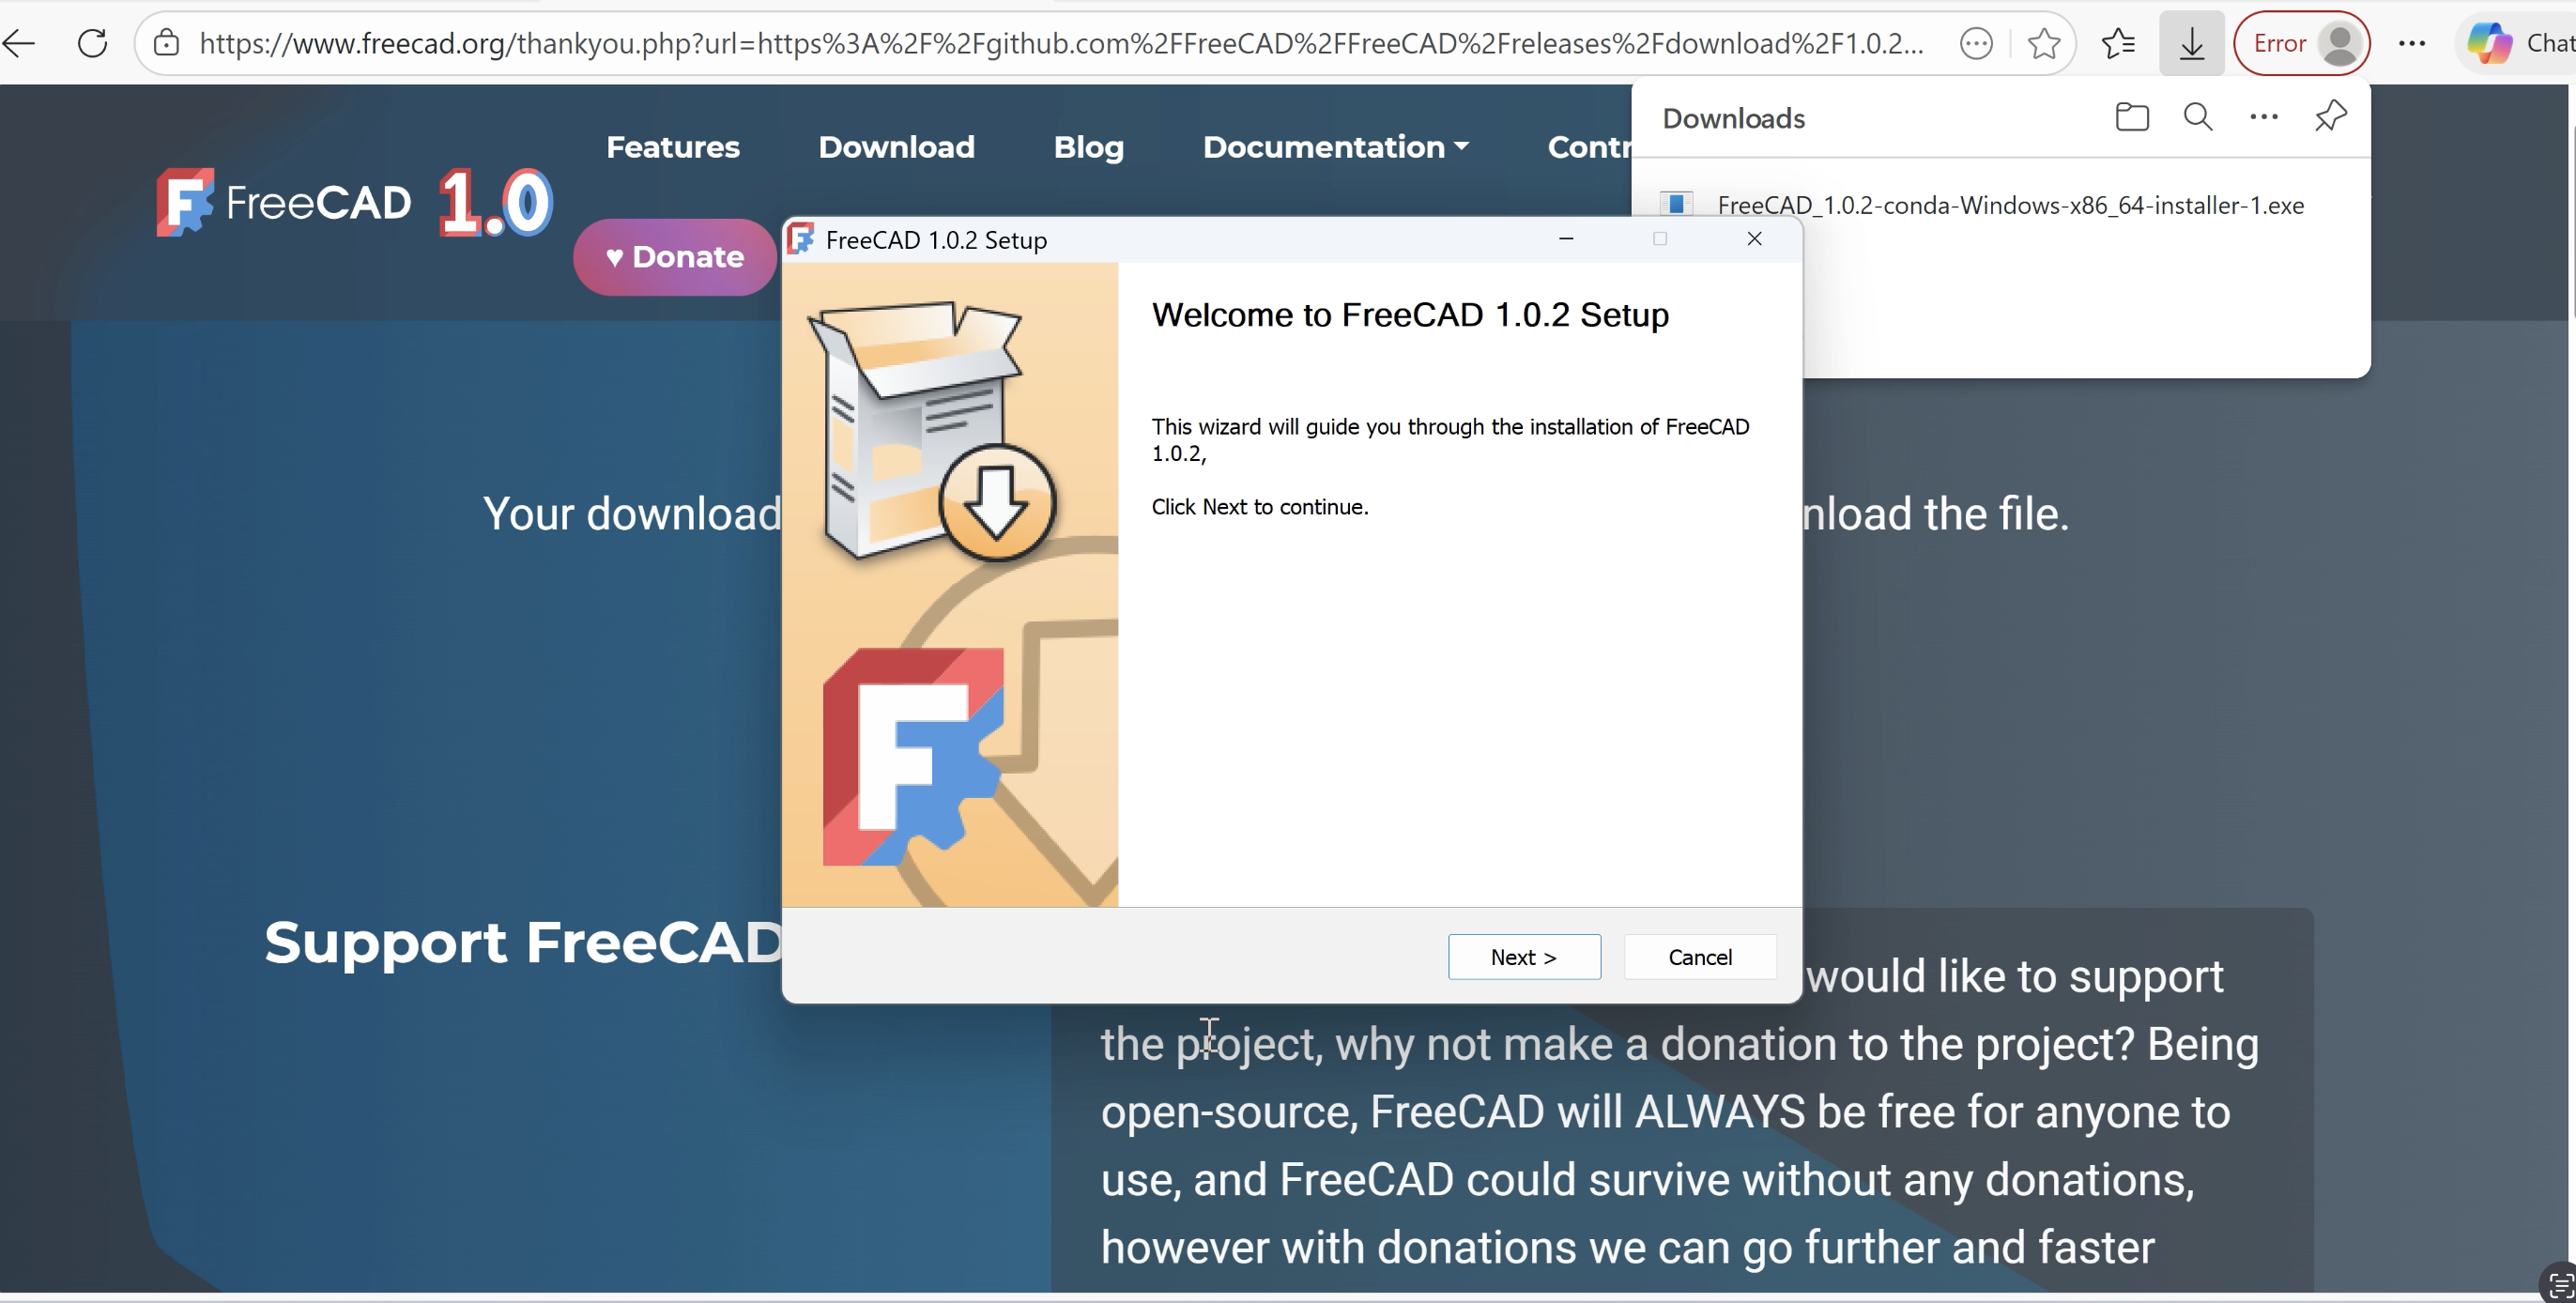
- FreeCAD: CAD software.
- MeshLab / 3D Viewer: For viewing and editing 3D models.

4. ROS2 Integration Setup
This is the core of today's setup: connecting ROS2 installed on WSL with Isaac Sim.
1. Installing ROS2 Jazzy on WSL
I launched WSL (Ubuntu) and executed the following commands in sequence to install ROS2 Jazzy Desktop version.
# Update package list and upgrade
$ sudo apt update && sudo apt upgrade -y

# Install necessary tools and add repositories
$ sudo apt install -y curl gnupg lsb-release software-properties-common
$ sudo add-apt-repository universe

# Locale settings (UTF-8)
$ sudo apt install locales
$ sudo locale-gen en_US en_US.UTF-8
$ sudo update-locale LC_ALL=en_US.UTF-8 LANG=en_US.UTF-8
$ export LANG=en_US.UTF-8

# Add ROS2 repository and register key
$ sudo curl -sSL https://raw.githubusercontent.com/ros/rosdistro/master/ros.asc | sudo apt-key add
$ echo "deb [arch=$(dpkg --print-architecture)] http://packages.ros.org/ros2/ubuntu $(lsb_release -cs) main" | sudo tee /etc/apt/sources.list.d/ros2.list > /dev/null

# Install ROS2 Desktop version
$ sudo apt update
$ sudo apt install ros-humble-desktop

# Install development tools
$ sudo apt install ros-dev-tools python3-colcon-common-extensions python3-argcomplete

# Setup environment script loading
$ echo "source /opt/ros/humble/setup.bash" >> ~/.bashrc
$ source ~/.bashrc
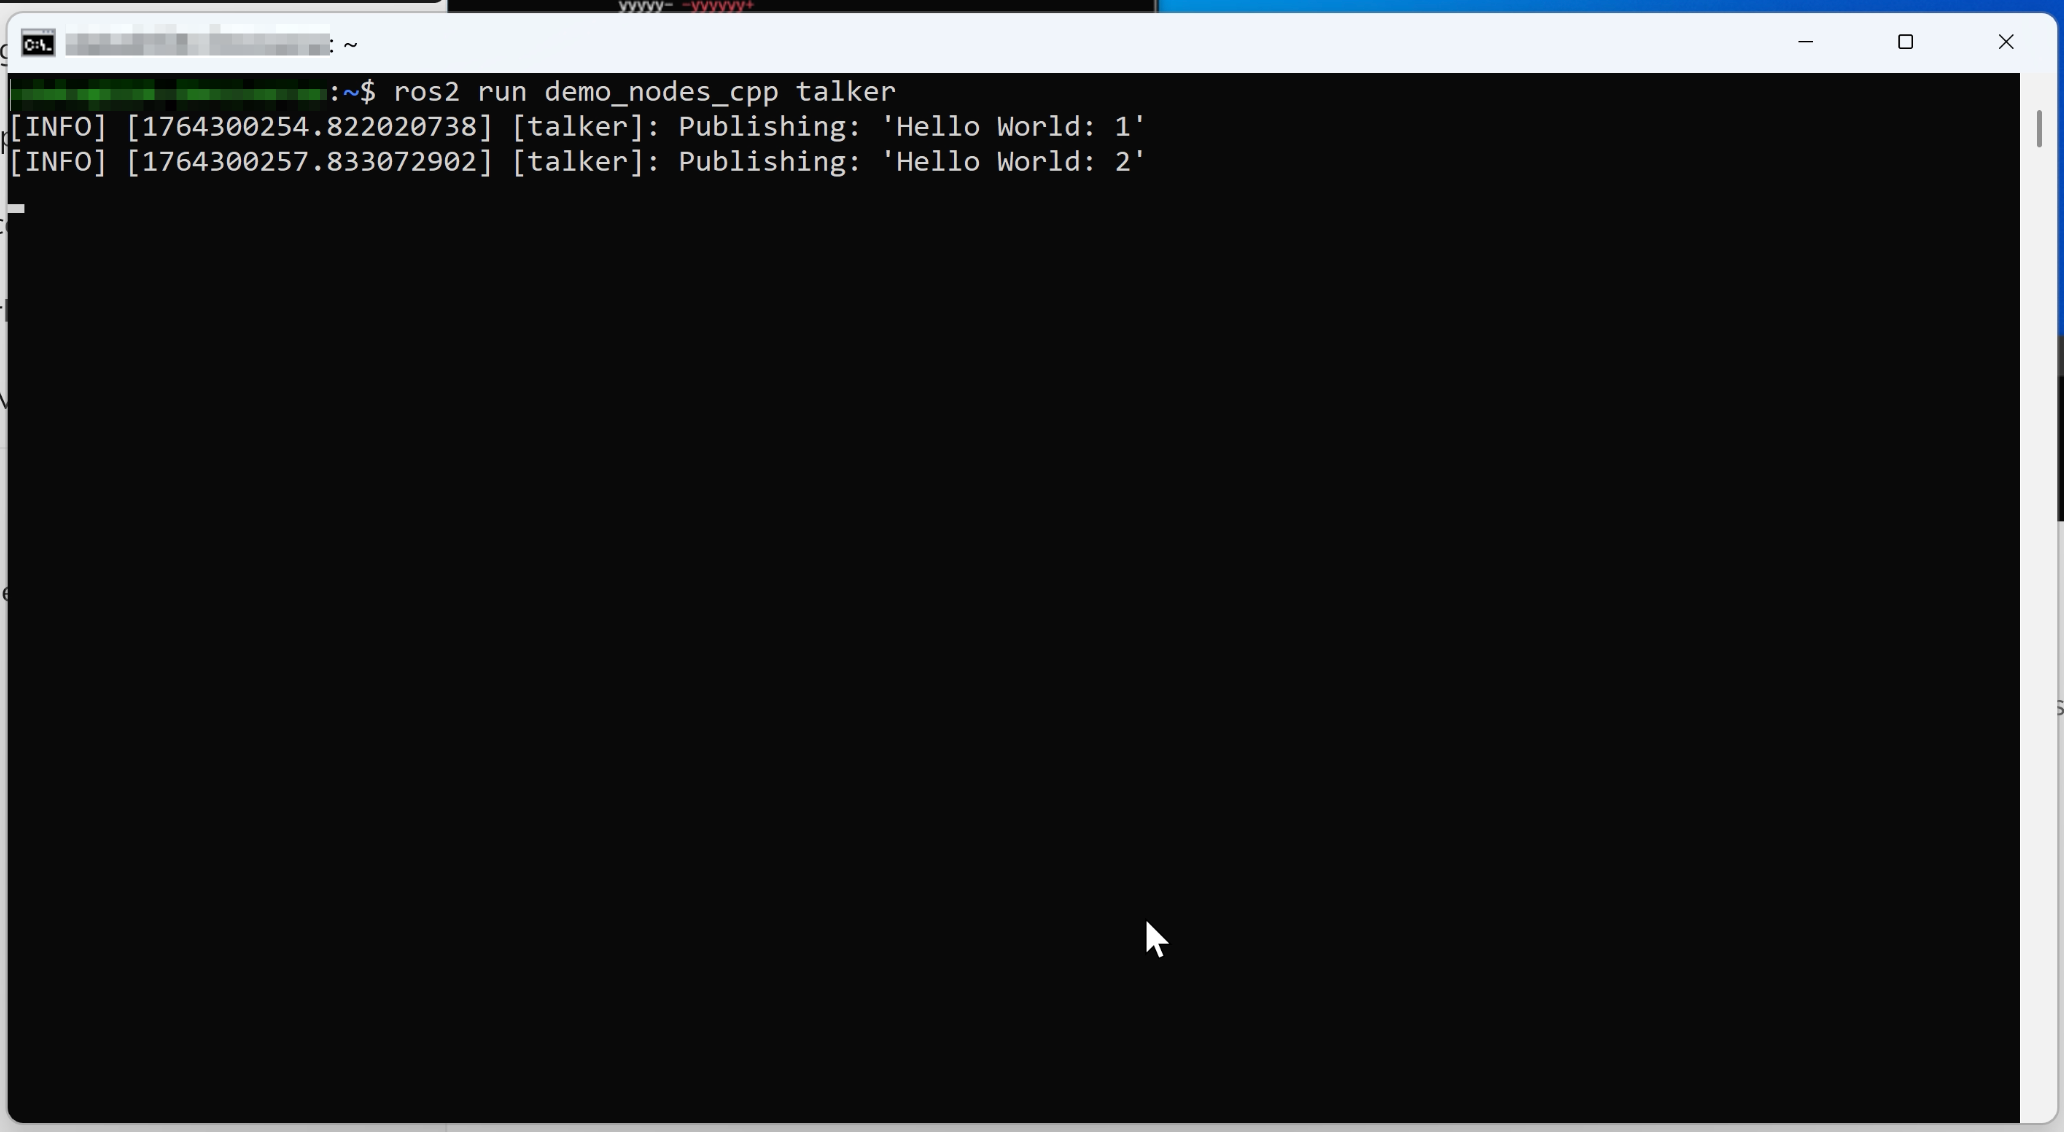
After installation, I ran ros2 run demo_nodes_cpp talker and confirmed that "Hello World" messages were streaming.
2. Isaac Sim - ROS2 Bridge Configuration
I configured the settings to enable communication between Windows and ROS2 on WSL.
First, I verified the IP addresses of both WSL and Windows respectively.
# Check WSL IP address
$ hostname -I
# On Windows side, check using ipconfig command etc.
In an administrator Command Prompt, I added port forwarding rules.
# Replace WSL_IP and Windows_IP with the discovered addresses
> netsh interface portproxy add v4tov4 listenport=7400 listenaddress=$Windows_IP connectport=7400 connectaddress=$WSL2_IP
> netsh interface portproxy add v4tov4 listenport=7410 listenaddress=$Windows_IP connectport=7410 connectaddress=$WSL2_IP
> netsh interface portproxy add v4tov4 listenport=9387 listenaddress=$Windows_IP connectport=9387 connectaddress=$WLS2_IP
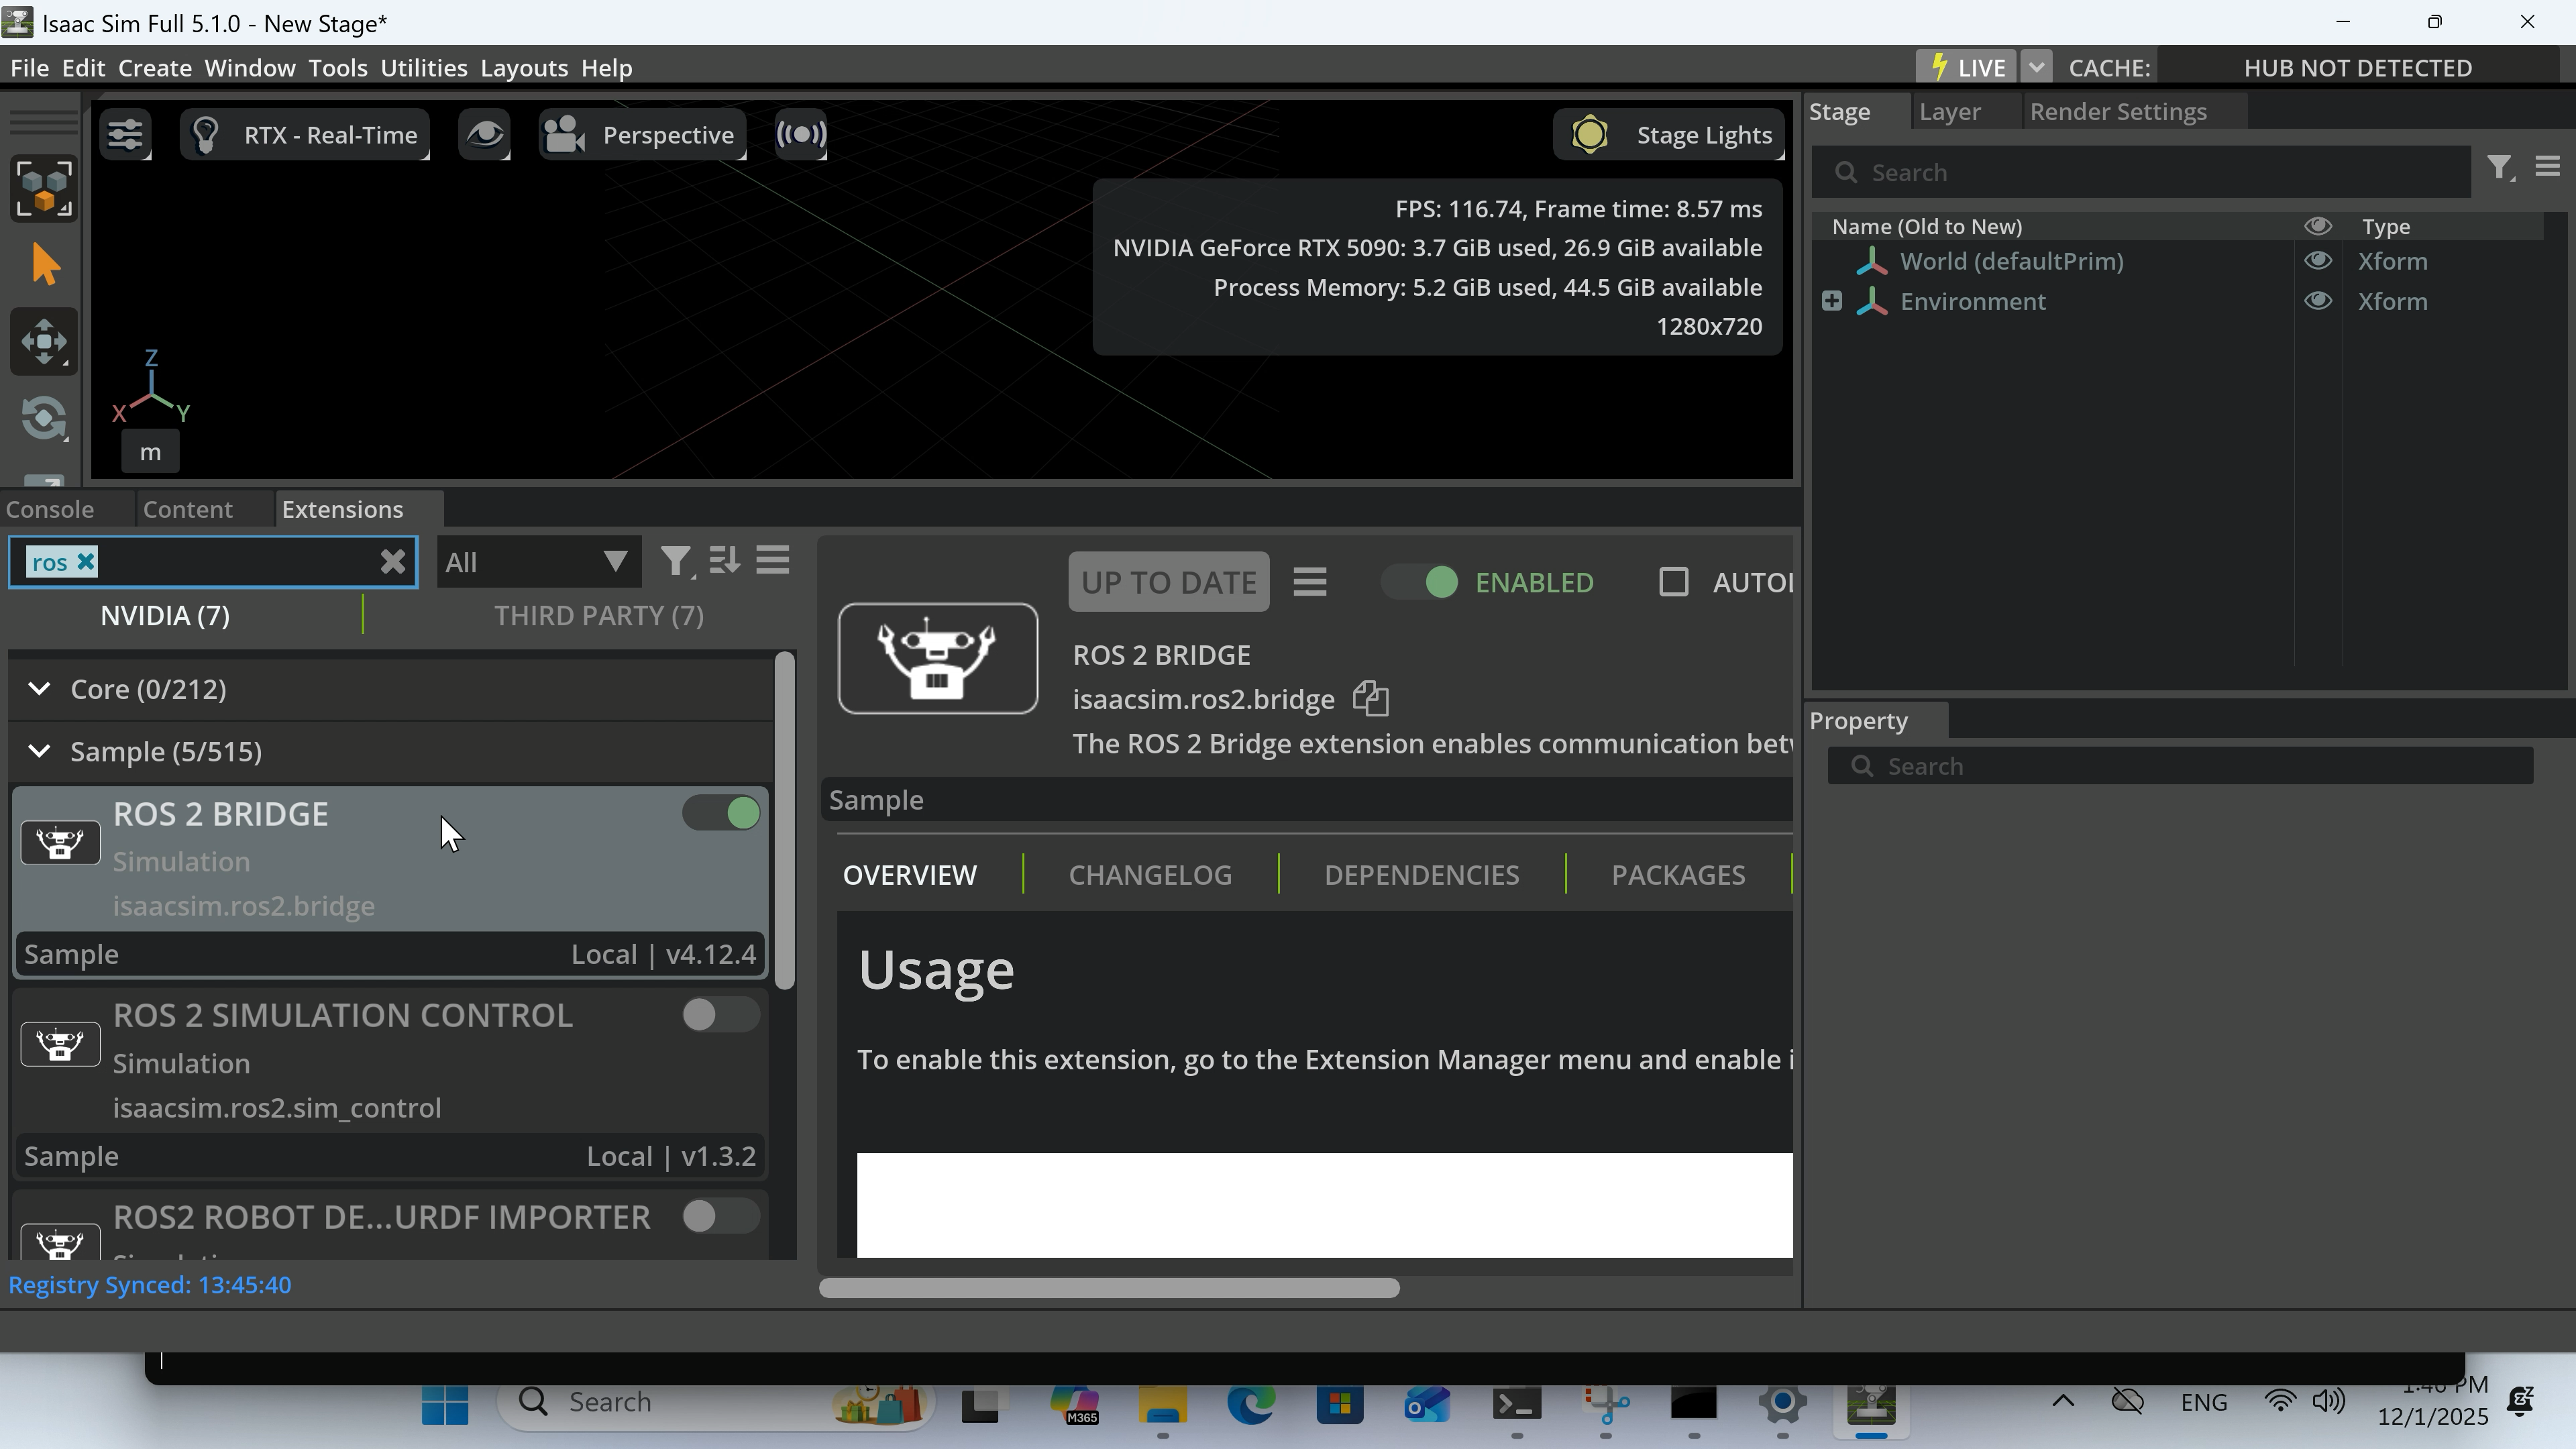
I launched Isaac Sim Selector and configured the "Bridge" tab as follows:
ROS Bridge Extension:isaacsim.ros2.bridgeUse Internal ROS2 Libraries:humble
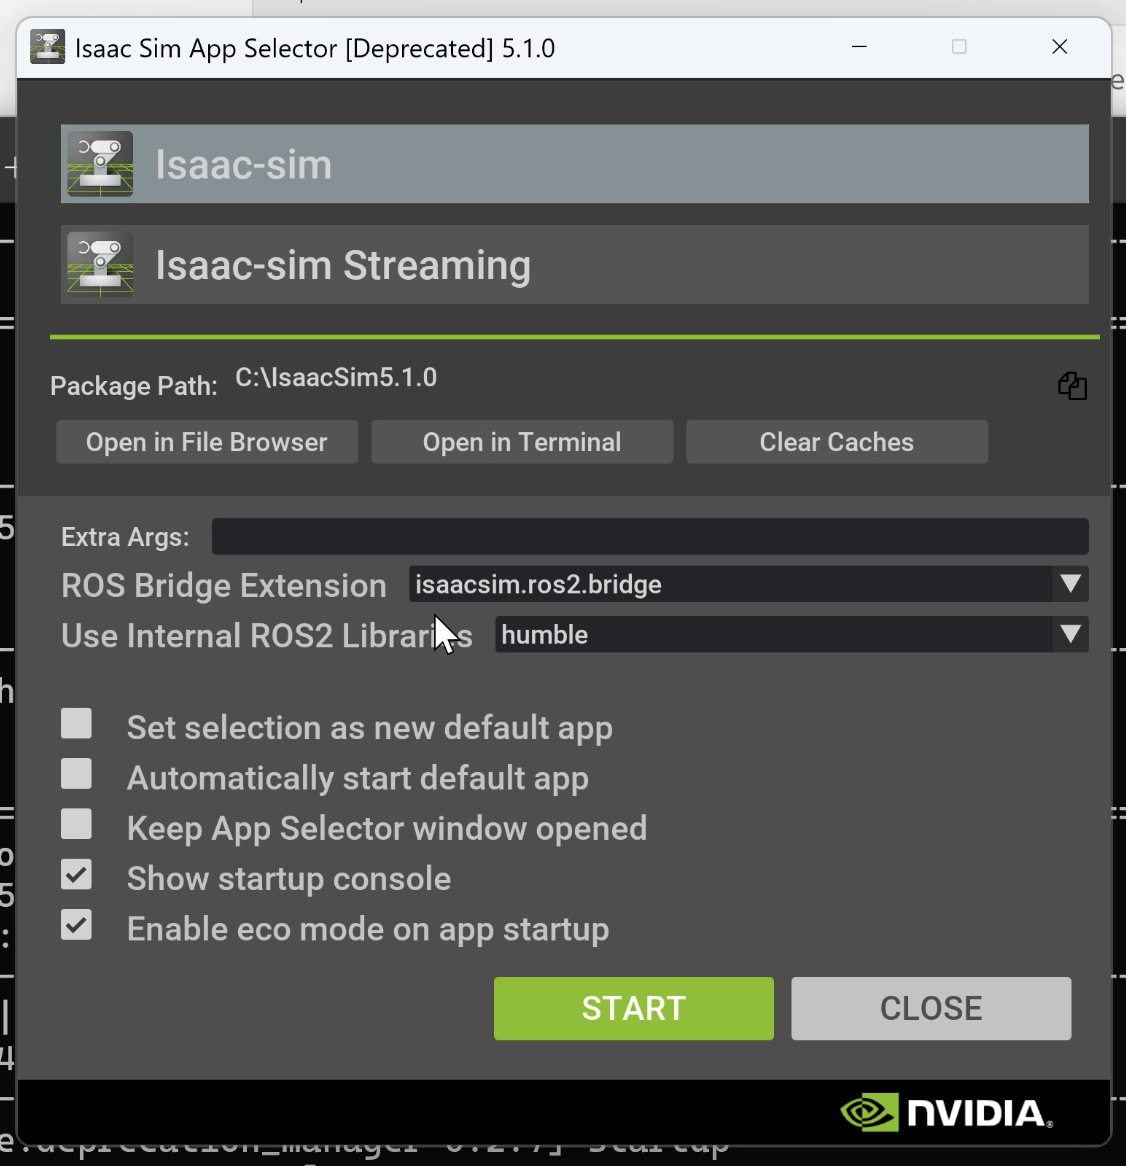
After configuration, I launched Isaac Sim and verified that omni.isaac.ros2_bridge was enabled from Window > Extensions.
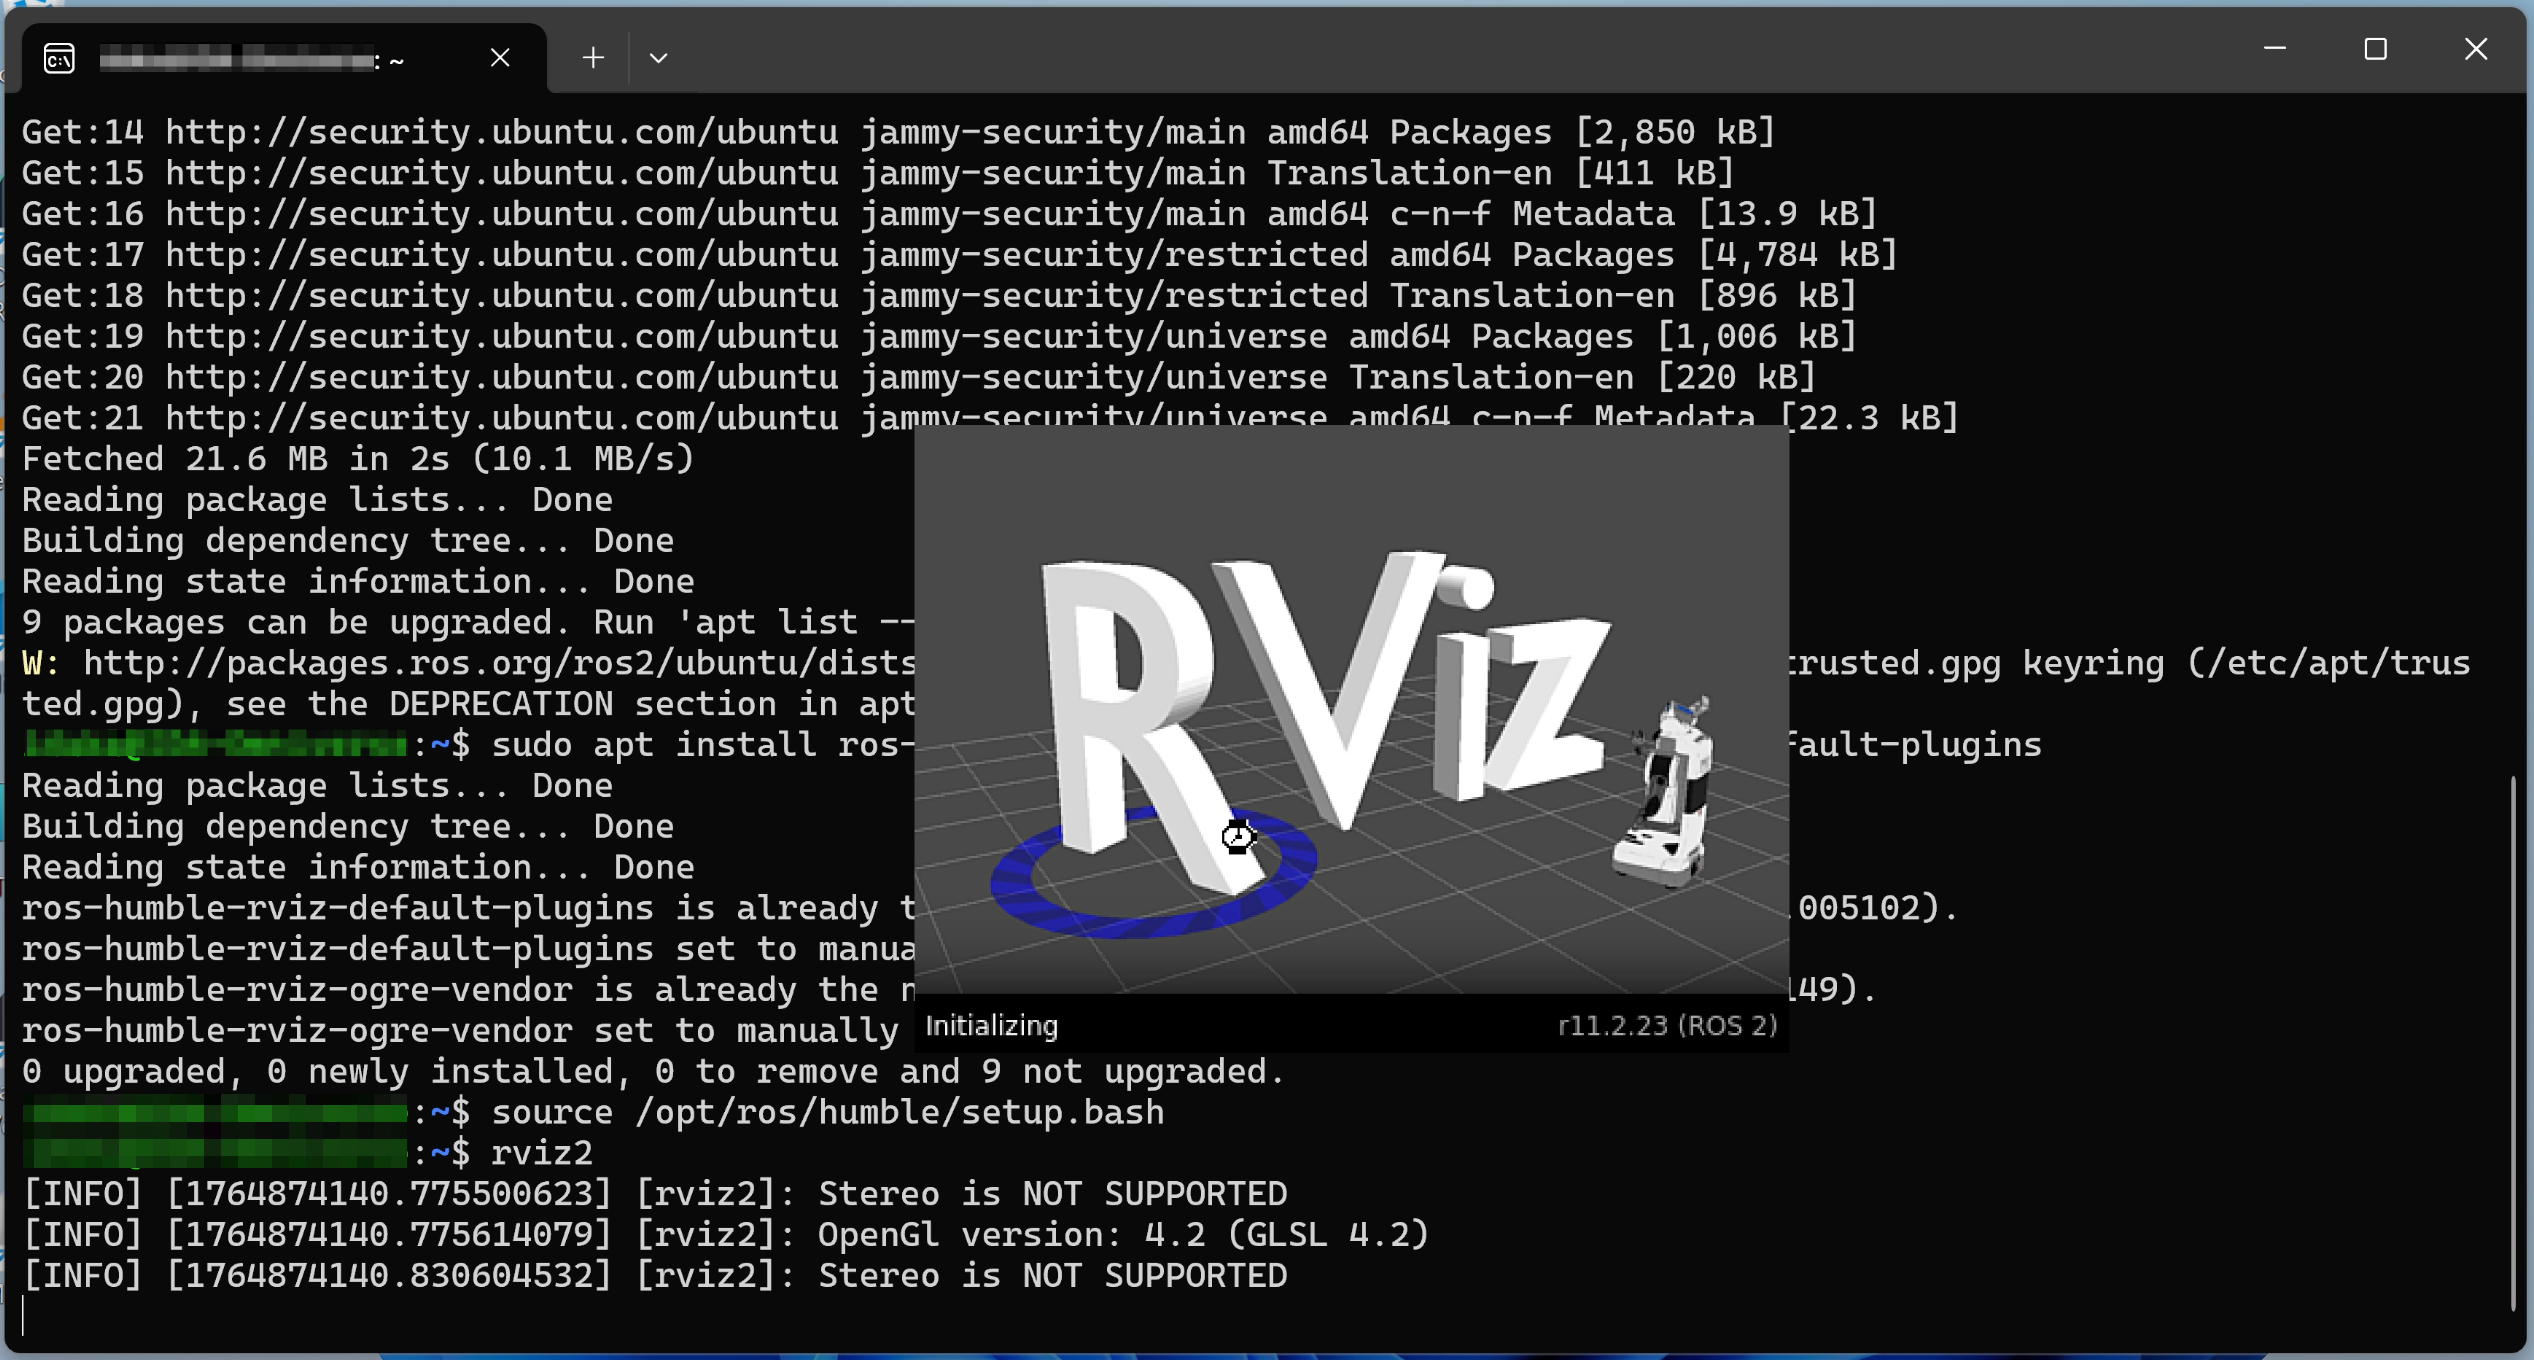
3. Installing Rviz2
I installed Rviz2, ROS2's integrated 3D visualization tool, by executing the following commands on WSL.
$ sudo apt update
$ sudo apt install ros-humble-rviz-ogre-vendor ros-humble-rviz-default-plugins
$ source /opt/ros/humble/setup.bash
$ rviz2
4. Installing MoveIt2 (Source Build)
Since binary installation of the advanced motion planning library "MoveIt2" didn't work well, I built and installed it from source.
# Create and navigate to workspace
$ mkdir -p ~/ws_moveit/src
$ cd ~/ws_moveit/src/

# Clone tutorial and dependency repositories
$ git clone https://github.com/moveit/moveit2_tutorials -b humble
$ vcs import < moveit2_tutorials/moveit2_tutorials.repos

# Install system dependencies
$ sudo apt remove ros-humble-moveit* # Remove existing binaries to avoid conflicts
$ cd ~/ws_moveit
$ rosdep install -r --from-paths src --ignore-src --rosdistro humble -y

# Build
$ colcon build --cmake-args -DCMAKE_BUILD_TYPE=Release

# DDS configuration
$ sudo apt install ros-humble-rmw-cyclonedx-cpp
$ echo 'export RMW_IMPLEMENTATION=rmw_cyclonedx_cpp' >> ~/.bashrc
$ source ~/.bashrc

# Run demo
$ source install/setup.bash
$ ros2 launch moveit2_tutorials demo.launch.py
The launch of MoveIt2's demo confirmed that all integration settings were completed successfully.
Considering Isaac Sim for Robot Validation or PoC Development?
From environment setup like this article to designing and implementing a full Pick & Place PoC with real robots (TM Robot, custom arms, etc.) — we provide end-to-end technical support.
A 4-week fixed-price Quick Start Package ($15,000–$18,000) is also available.
Learn more about our Robotics Simulation Service →
5. Summary
Above is the record of my NVIDIA Isaac Sim environment setup procedure performed in December 2025.
Although there were many steps, by proceeding steadily one by one, I was able to successfully build the simulation environment. I hope this record will serve as some reference for those who may perform similar environment setups in the future.
Related Articles
- Isaac Sim Environment Setup: Ubuntu 24.04 — The same setup on Ubuntu (native Linux, no WSL)
- Controlling Robots in NVIDIA Isaac Sim from ROS 2 Jazzy — Next step: getting a robot arm moving in simulation
- Streaming Camera Feed from Isaac Sim to ROS 2 Jazzy — Adding vision to your simulation setup
- TM Robot + Isaac Sim Integration via ROS 2 — Connecting a physical TM Robot to simulation